
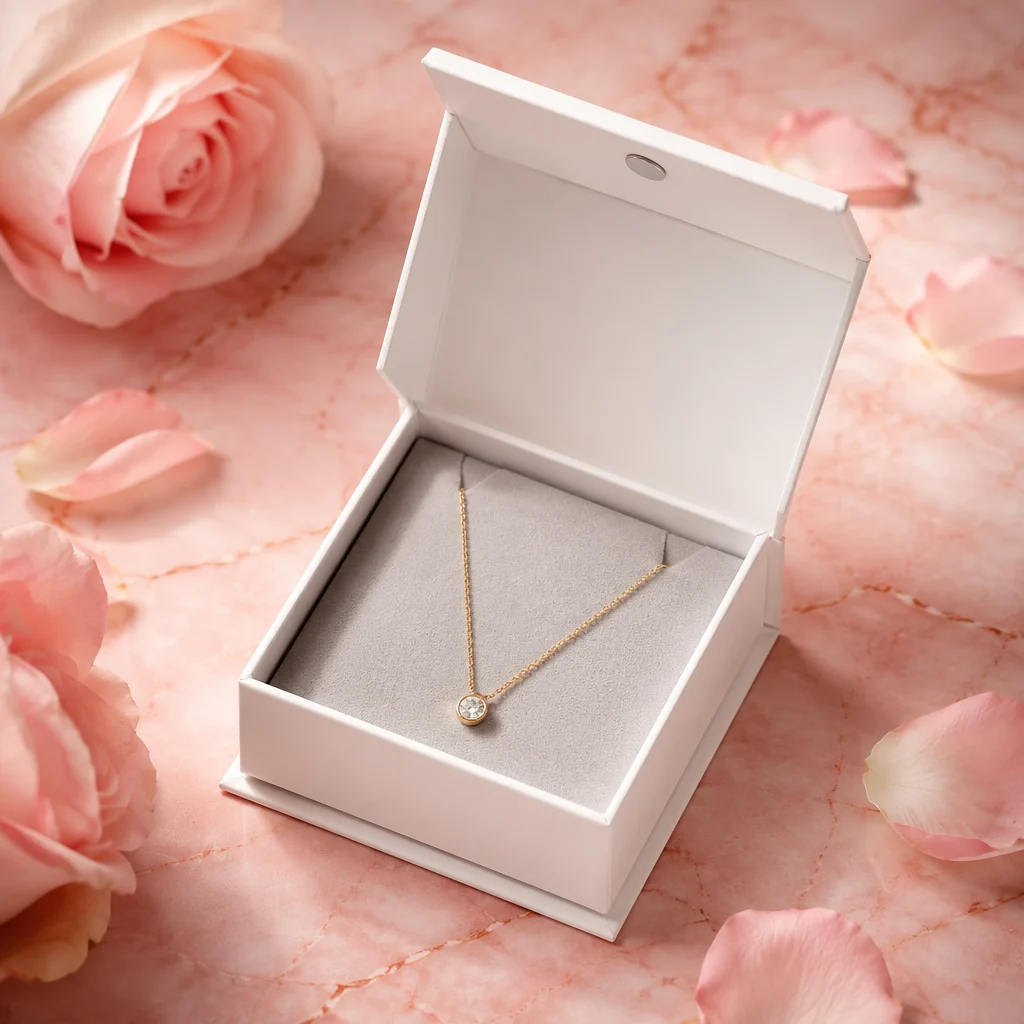
Jewelry Packaging Application Example
Illustrative application example: review jewelry presentation through the contact surface, restraint and opening before choosing the outer finish. Compare the complete material list if reducing mixed materials is part of the brief. This page presents a proposed evaluation approach and does not claim a completed customer result.
- ✓ Free Design Support & 3D Mockup
- ✓ Insert Slot Review
- ✓ Small Detail Adjustment
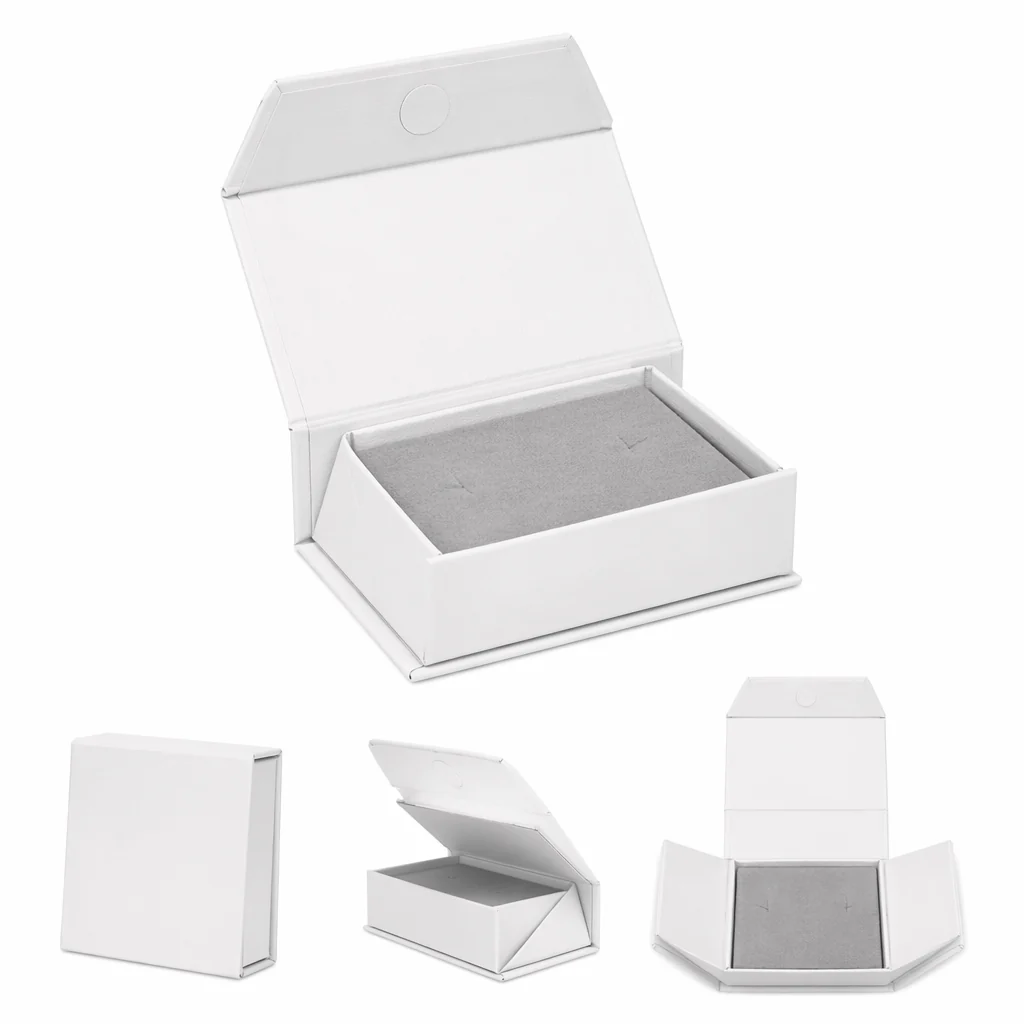
Example Project Brief
For an assumed jewelry range, list the pieces that may share an exterior and identify what each insert must hold. Rings, chains and bracelets create different pressure and snagging risks. Coordinate the outer appearance only after the contact points and removal method have been checked for each piece.
- A compact jewelry box that should not make the product look small
- A clean opening view when the customer opened the box
- A secure insert that limits movement
- Logo placement that remains readable on the lid
- A structure that could be repeated across several jewelry SKUs
- A sample approval process before bulk production
Keep appearance, protection and material claims as separate acceptance questions. A softer lining can improve contact but changes the material system; a paper insert may simplify the construction but still needs a fit test. Do not infer recycling performance or cost savings from the exterior alone.
Packaging Risks to Review
Review the complete packed piece for movement, pressure on delicate features and removal effort. Use the most projecting or fragile item in the intended range when comparing inserts, and identify where the jewelry should be held rather than allowing a decorative surface to take the load.
Product Movement
The ring would need to stay upright, the necklace chain would need a fixed position and the pendant could not slide under the insert.
Small Box Proportion
The box should frame the jewelry without making the pieces look lost inside an oversized package.
Logo Clarity
The logo could not be too large for the small lid and still would need enough edge distance after assembly.
Easy Removal
The product should be easy to remove without pulling too hard, damaging the insert or rubbing the jewelry surface.
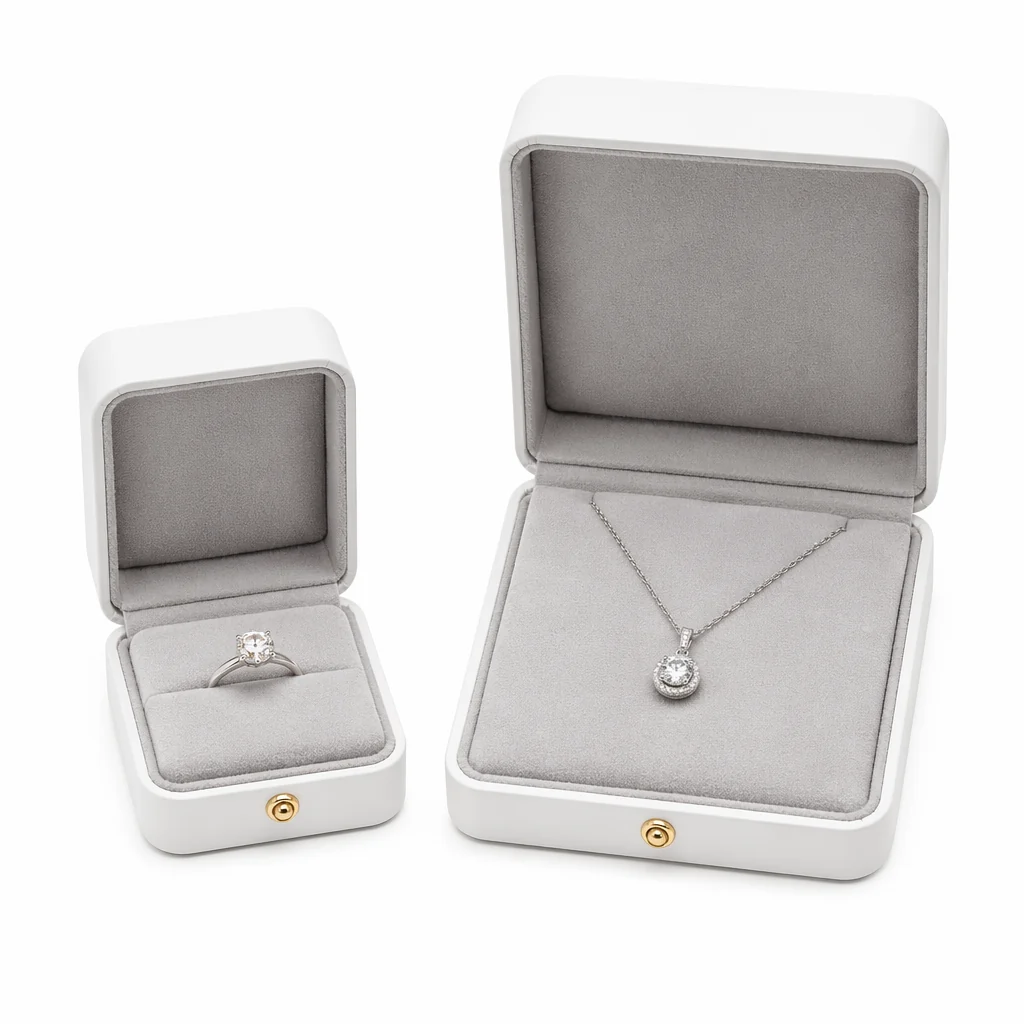
Product Details to Review
Before making the sample, review the product dimensions and how each jewelry item should sit in the box.
For a ring, check the slot against the band and setting separately: the band needs restraint while the setting needs clearance. For a necklace, route the chain behind the card without a sharp bend or a snag point, and keep the pendant visible. Test removal with the actual pieces before approving one insert for the range.
Box Structure Direction
For this example, compare a compact jewelry box with a larger gift-set structure. Select a proportion that presents the jewelry clearly while allowing support and removal space.
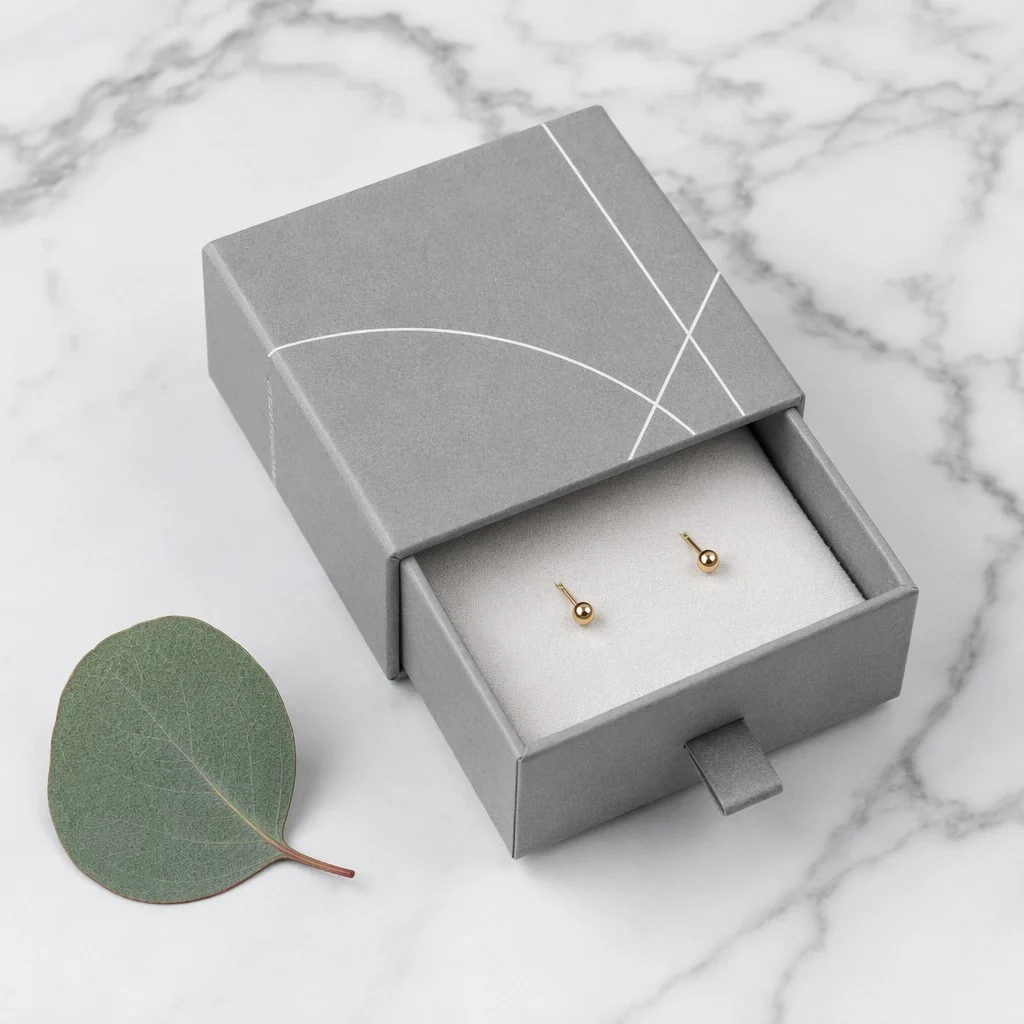
Small Footprint
The box would need to stay compact so the jewelry should not look small inside the package.
Clean Lid Opening
The opening view should show the product and insert in a controlled way.
Insert Depth
The box would need enough depth for the insert and jewelry height without touching the lid.
Readable Logo Area
The lid still would need enough clear space for a restrained, readable logo.
Insert Solution
The insert design should be adjusted around the product type rather than using one generic cutout.
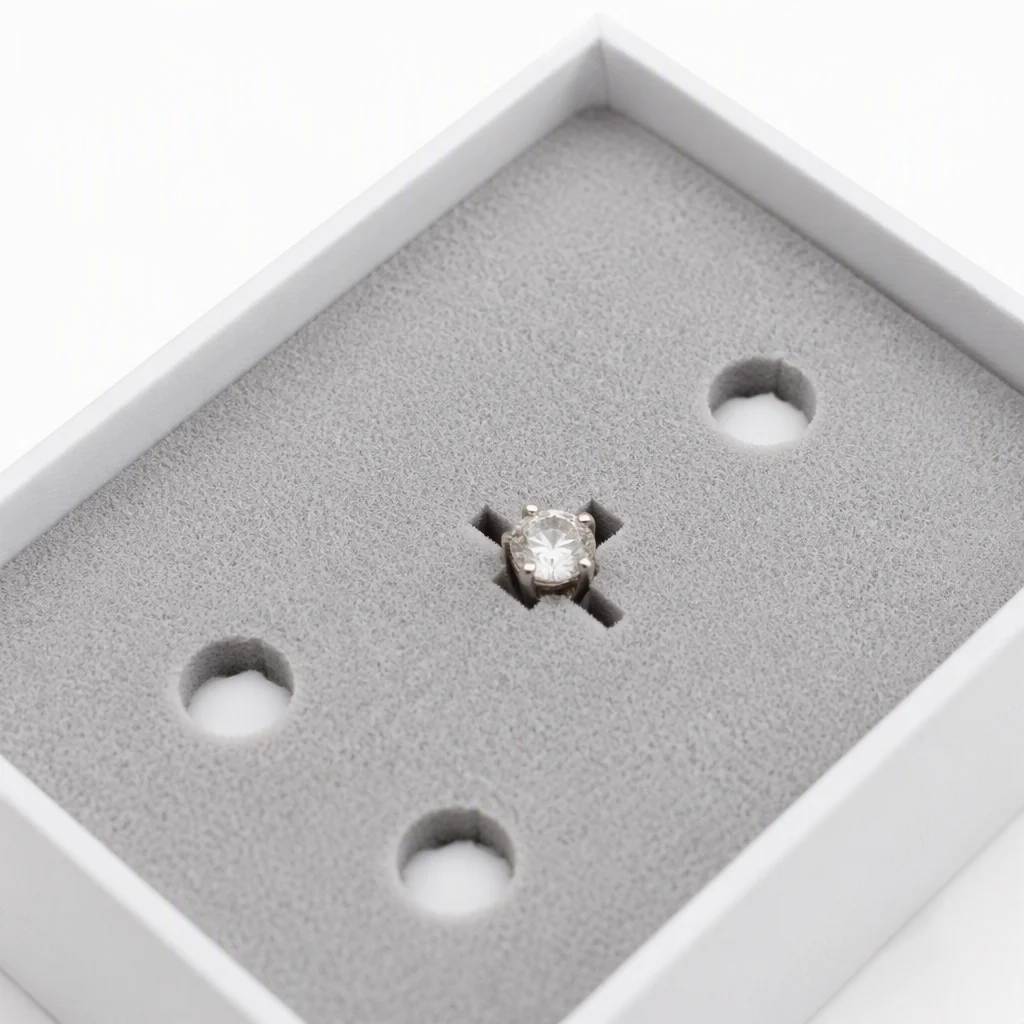
For Rings
Slot width should be checked against band thickness. Insert depth, top clearance and removal space should be adjusted so the ring stays upright without forcing the band.
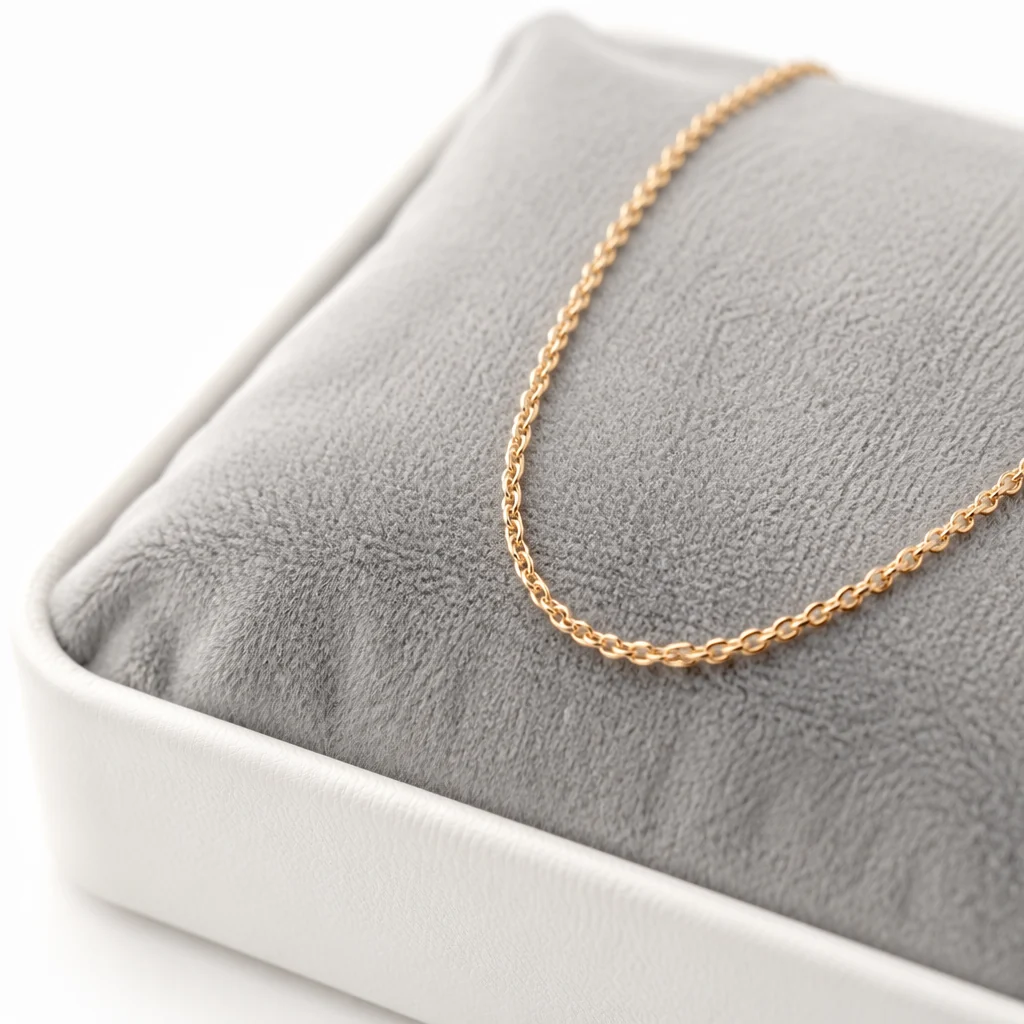
For Necklaces
Card slot position and chain hold points should be reviewed to reduce movement and keep the pendant centered in the opening view.
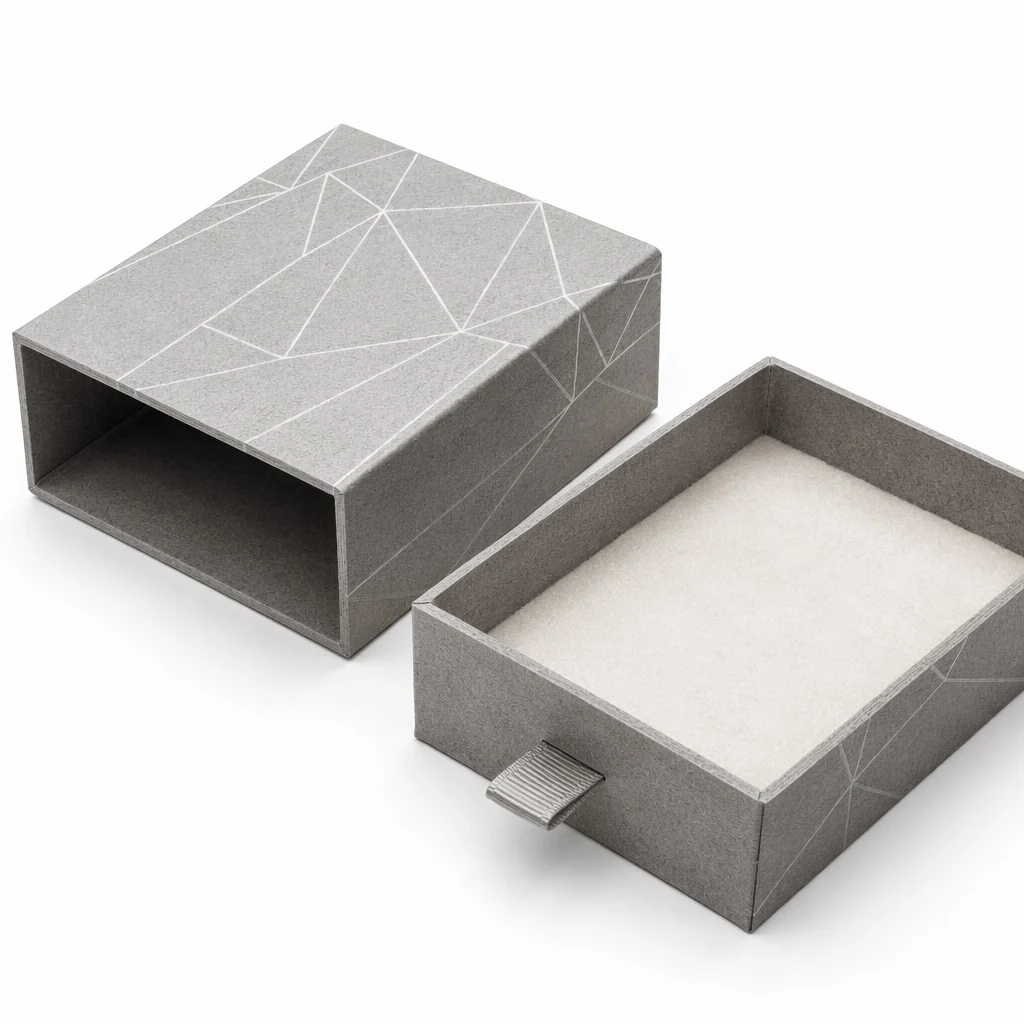
For Small Accessories
Shallow placement and spacing should be used so small items should not disappear inside the box or touch each other during handling.
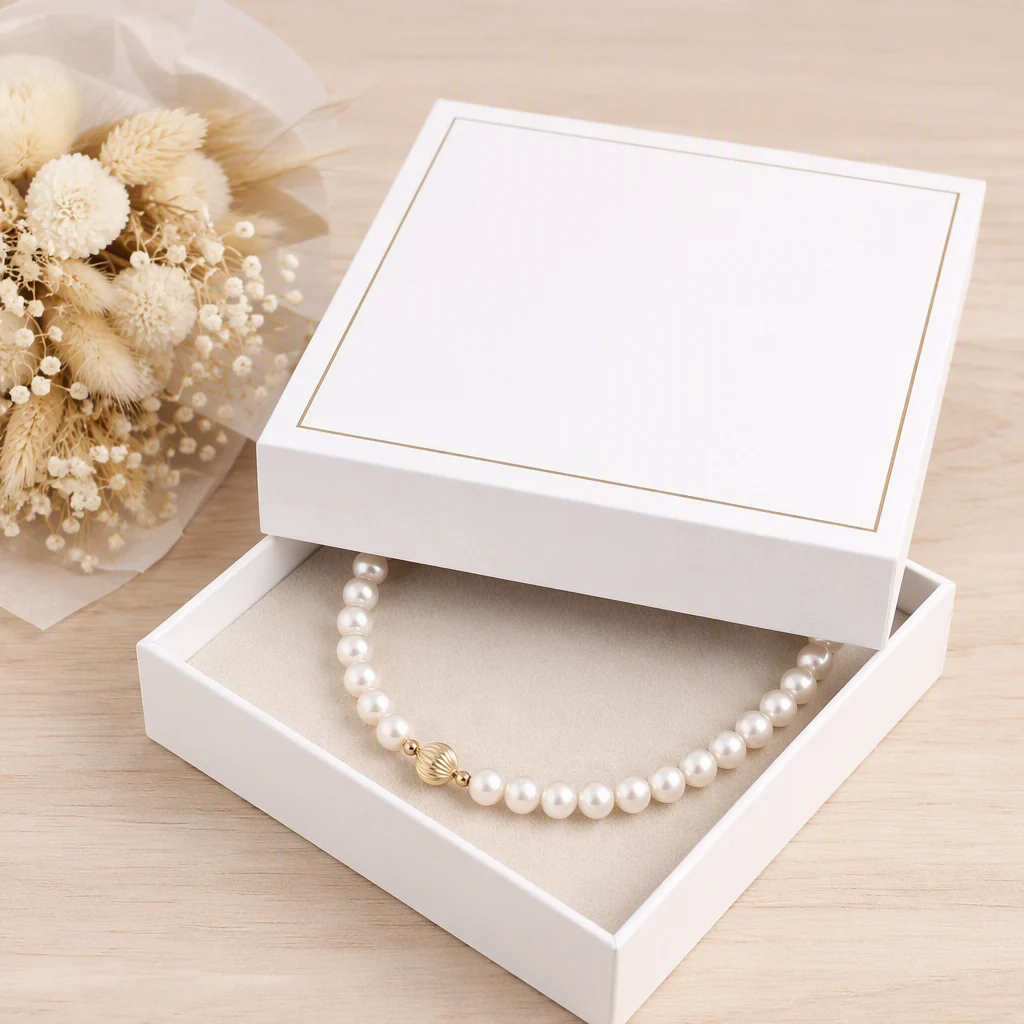
Logo Position and Finishing
This example assumes a buyer wants a clean logo on the box lid. Because the box is compact, logo scale would need careful review.
- Logo size compared with lid size
- Distance from box edges
- Minimum line width
- Whether small text remains readable
- Whether foil stamping, embossing or debossing would keep detail clear
- Whether the logo looks centered after box assembly
For small jewelry boxes, a cleaner and slightly smaller logo can work better than a large mark that fills the lid.
View Embossing DetailsSample Review
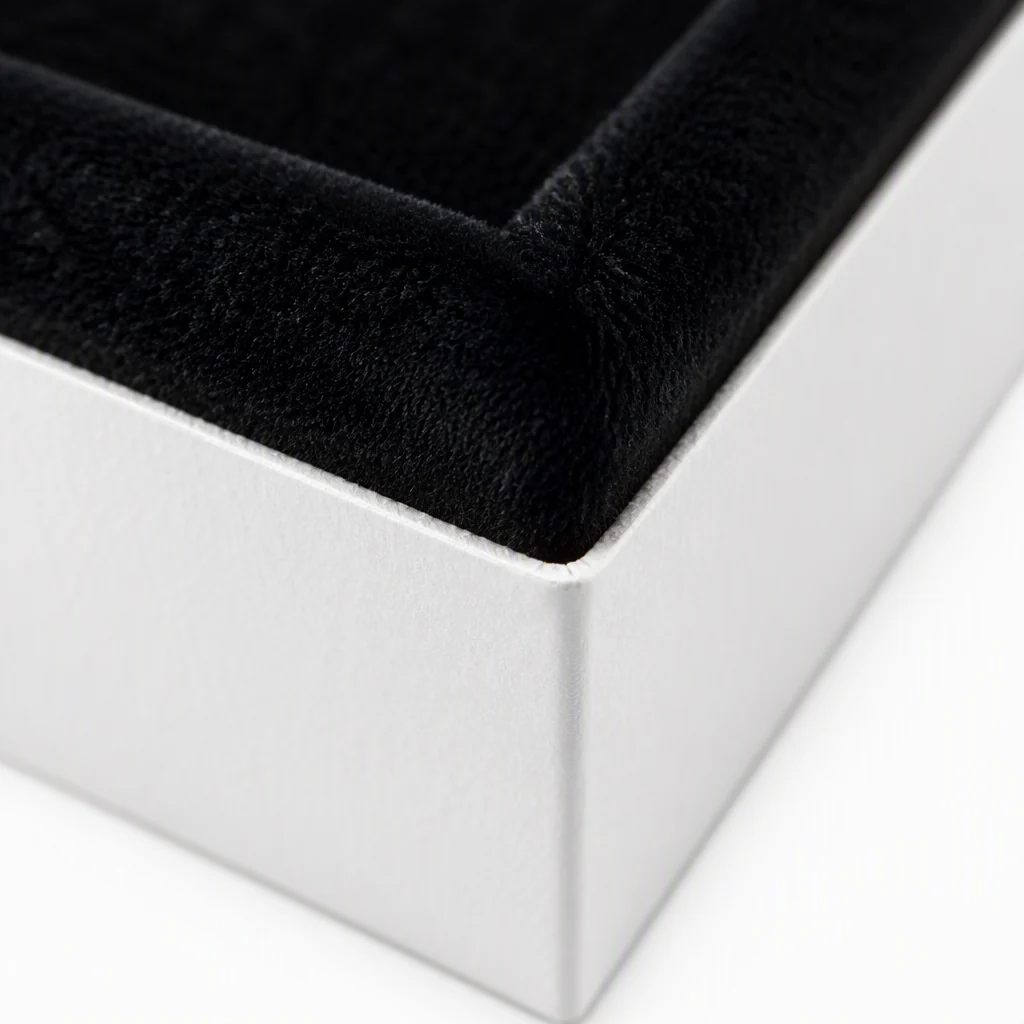
Load the sample with the intended jewelry and inspect it before and after placement, removal and closing. Look for a ring leaning in its slot, chain caught behind a card or lining fibres snagged on a setting. Record which insert and box revision was tested so a later cavity change can be reviewed against the same criteria.
Potential Adjustments Before Approval
Use the sample review to identify any adjustments required before bulk approval.
- Insert slot width should be refined for a better ring hold.
- Necklace card position should be adjusted to keep the pendant centered.
- Review logo position on the assembled lid and adjust it if the visual balance needs improvement.
- Product removal space should be kept open so the buyer could lift the jewelry easily.
- Packing method should be reviewed to protect the small boxes during shipment.
Small corrections can matter in jewelry packaging because the product and box are viewed closely. Record and approve each revision before production.
Approval Targets Before Bulk Production
Before bulk production, approve the revised physical sample and record the following acceptance targets.
- Jewelry should stay in the approved insert position during the agreed handling checks.
- Box proportion should suit the product size and allow practical removal.
- Logo placement should be clear and properly positioned on the compact lid.
- Check that the product can be removed without damaging the insert.
- Finished boxes should be packed with surface and corner protection.
For this application, jewelry packaging often depends on careful control of small details: slot width, product height, logo scale and insert finish.
Buyer Planning Checklist
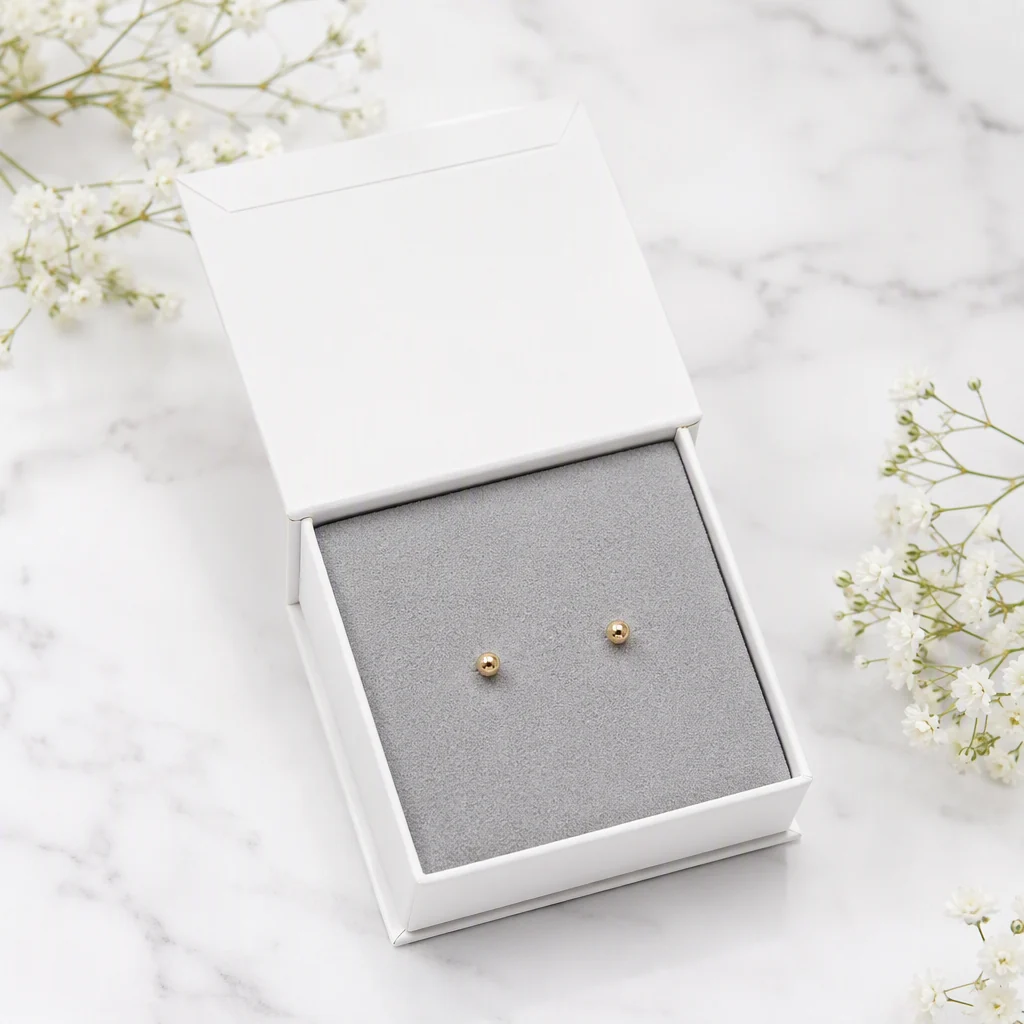
This project is useful for jewelry buyers because it shows why empty box samples are not enough.
- Small jewelry products need accurate insert fit.
- Box size should be chosen around product proportion.
- Logo artwork should be scaled for the actual lid size.
- Ring, necklace and earring packaging may need different insert logic.
- Sample approval should include real product placement.
- Bulk production should start only after fit and finishing are confirmed.
What to Send for Your Project
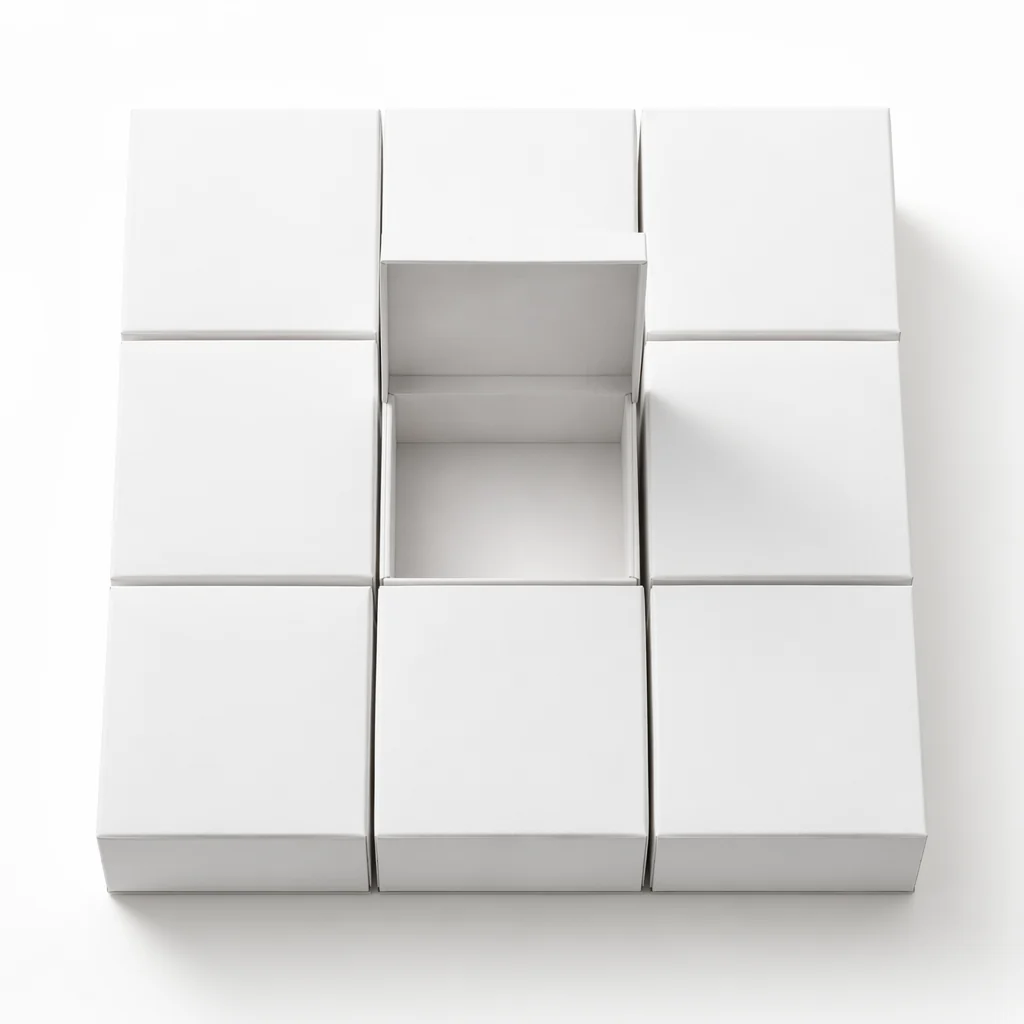
If your collection includes several jewelry types, send the full size range so we can check whether one box can work or whether different inserts are needed.
- Jewelry type: ring, necklace, earrings, bracelet or set
- Product photos, dimensions and weight if available
- Quantity and preferred box style or reference image
- Logo or artwork file
- Insert preference and finishing request
- Target delivery country and date
For many custom jewelry packaging projects, MOQ is 500 pcs per design and size. Samples usually take 3–5 days after structure and artwork are confirmed. Bulk production usually takes 15–25 days after sample approval.
Ready to Discuss a Similar Jewelry Packaging Project?
Send your jewelry type, product size, photos, logo file and closest reference. We can check whether one box size can work or different inserts are needed.
Get a Packaging QuoteFrequently Asked Questions
Answers about jewelry box insert fit, logo scale, samples, MOQ and production timing.
Jewelry products are small and can move easily. A correct insert keeps the product centered, reduces movement and makes the opening view look more controlled.
Sometimes one outer box size can be used with different inserts, but the fit should be tested. Rings, necklaces and earrings usually need different slot, card or hole details.
The ring slot or cushion should match the band thickness and ring head height. The sample should be checked with the real ring or a matching dummy.
The box lid is compact, so the logo should be scaled for the actual lid size. Small logos need careful line width, edge distance and finishing checks.
If possible, yes. Real jewelry helps check fit, movement, removal space and product presentation more accurately than dimensions alone.
Samples are usually finished in 3-5 days after structure and artwork are confirmed. Complex inserts, specialty paper or several finishing methods may need extra time.
For many custom jewelry packaging projects, MOQ is 500 pcs per design and size. Confirm structure, material, insert, printing and finishing with the quotation; the minimum remains 500 pcs per design and size.