


Logo Printing for Custom Packaging
Logo printing should match the packaging material, artwork file, logo size, position, color reference and production method.
- ✓ Free Design Support & 3D Mockup
- ✓ Clean Artwork Review
- ✓ Brand Color Support
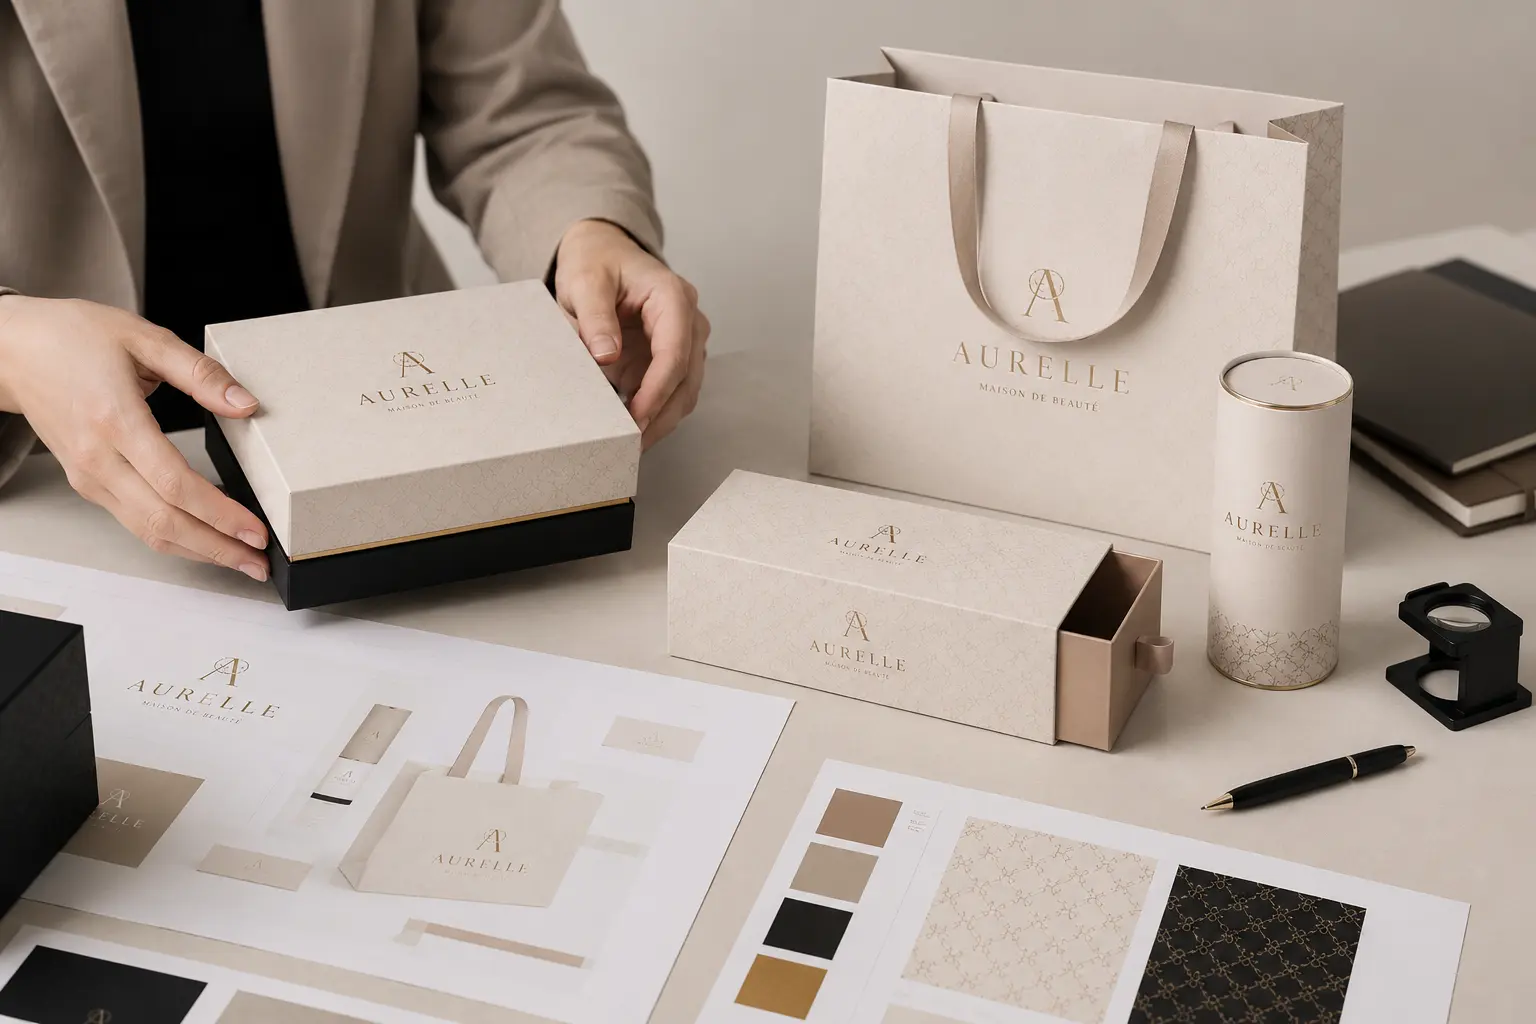
Why Logo Printing Needs Planning
Many custom packaging designs are simple: a clean surface, a logo and a controlled opening experience. In that kind of design, the logo becomes the main visible detail.
If the logo is blurry, off-center, too small or not suitable for the material, the whole package can look unfinished.
Before choosing a logo method, check the packaging material, whether the design needs foil stamping or embossing and debossing, and whether the logo position changes after the box is assembled.
- Low-resolution logo output
- Logo placed on the wrong panel
- Fine lines disappearing
- Small text becoming unreadable
- Spot UV or foil alignment problems
- Logo position looking unbalanced after the box is formed
Common Logo Printing and Finishing Methods
Custom packaging can use several logo printing and finishing methods. Some methods print ink onto the paper. Others add shine, texture or depth.
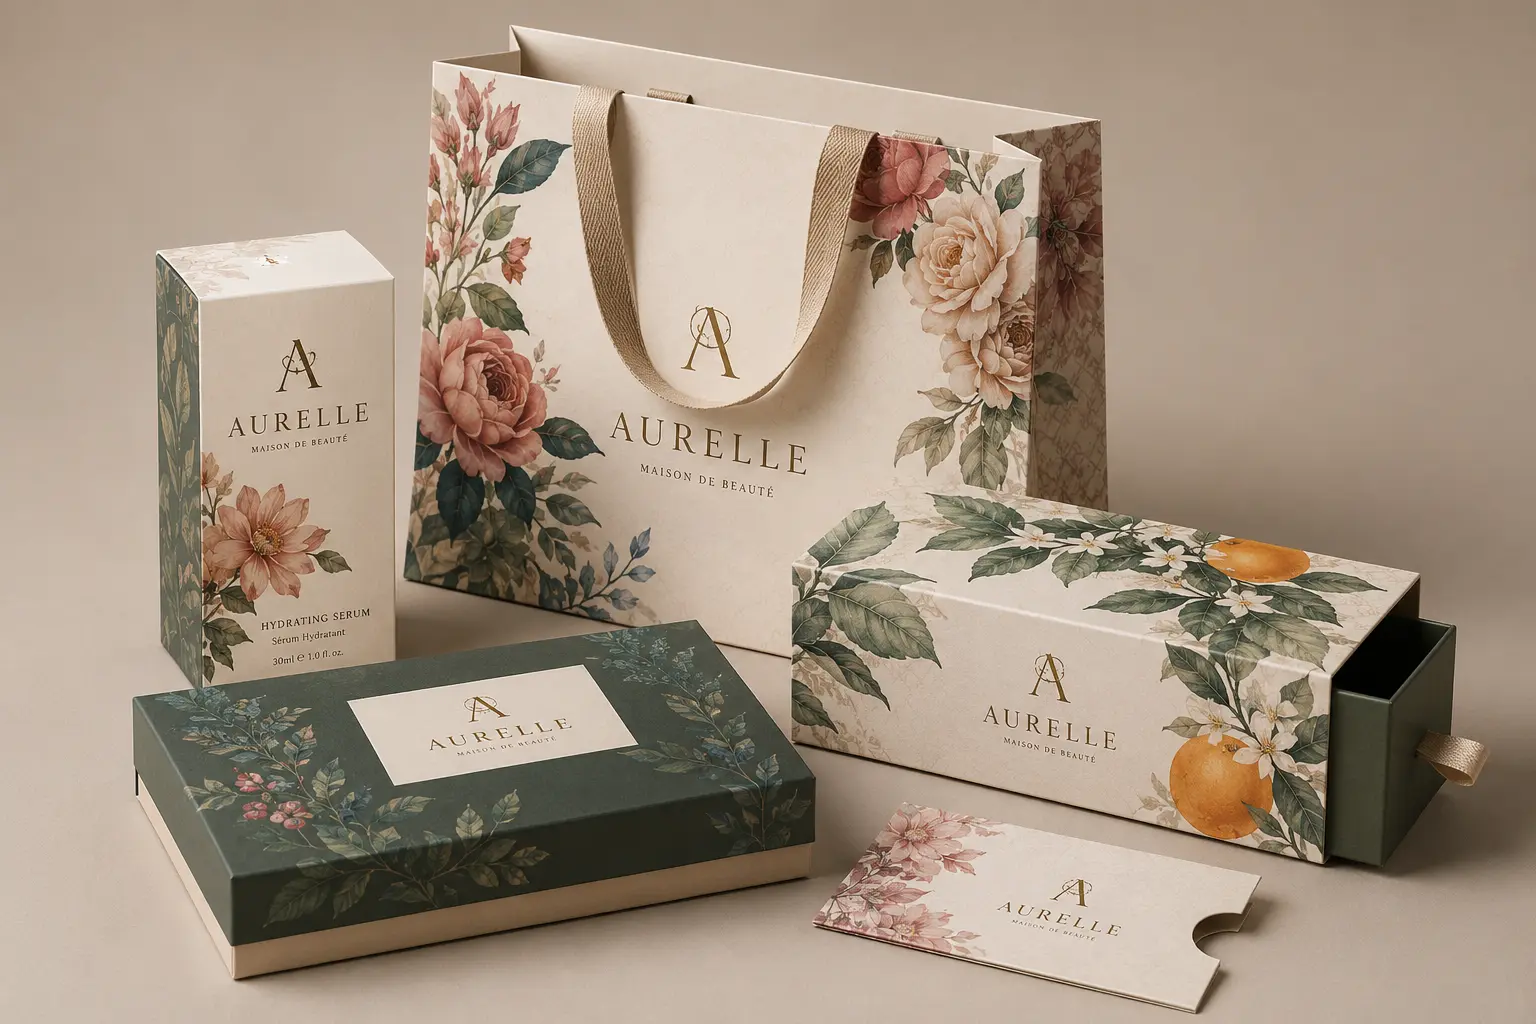
Offset Printing
Offset printing is commonly used for paper packaging with full-color artwork, large print areas, product images, patterns or multiple brand colors.
- Folding cartons
- Printed sleeves
- Paper bags
- Wrapped paper for rigid boxes
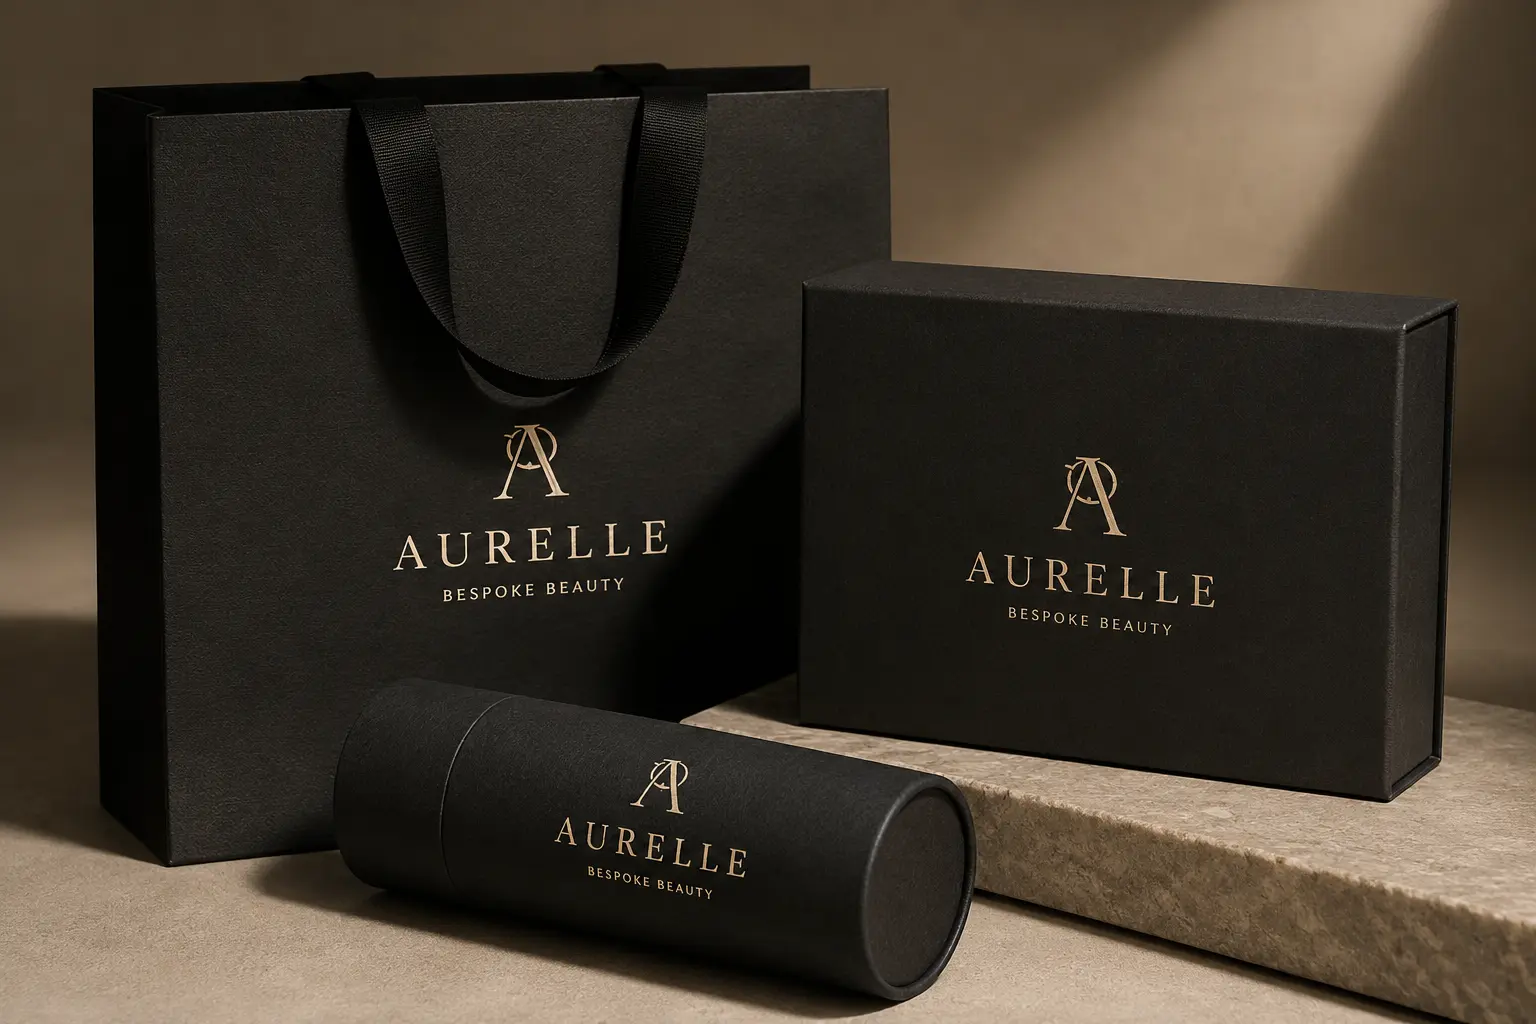
Screen Printing
Screen printing can be used for solid logo areas, especially when a logo needs stronger coverage on certain paper surfaces or darker materials.
- Simple logos
- Solid color marks
- Paper bags
- Specialty paper
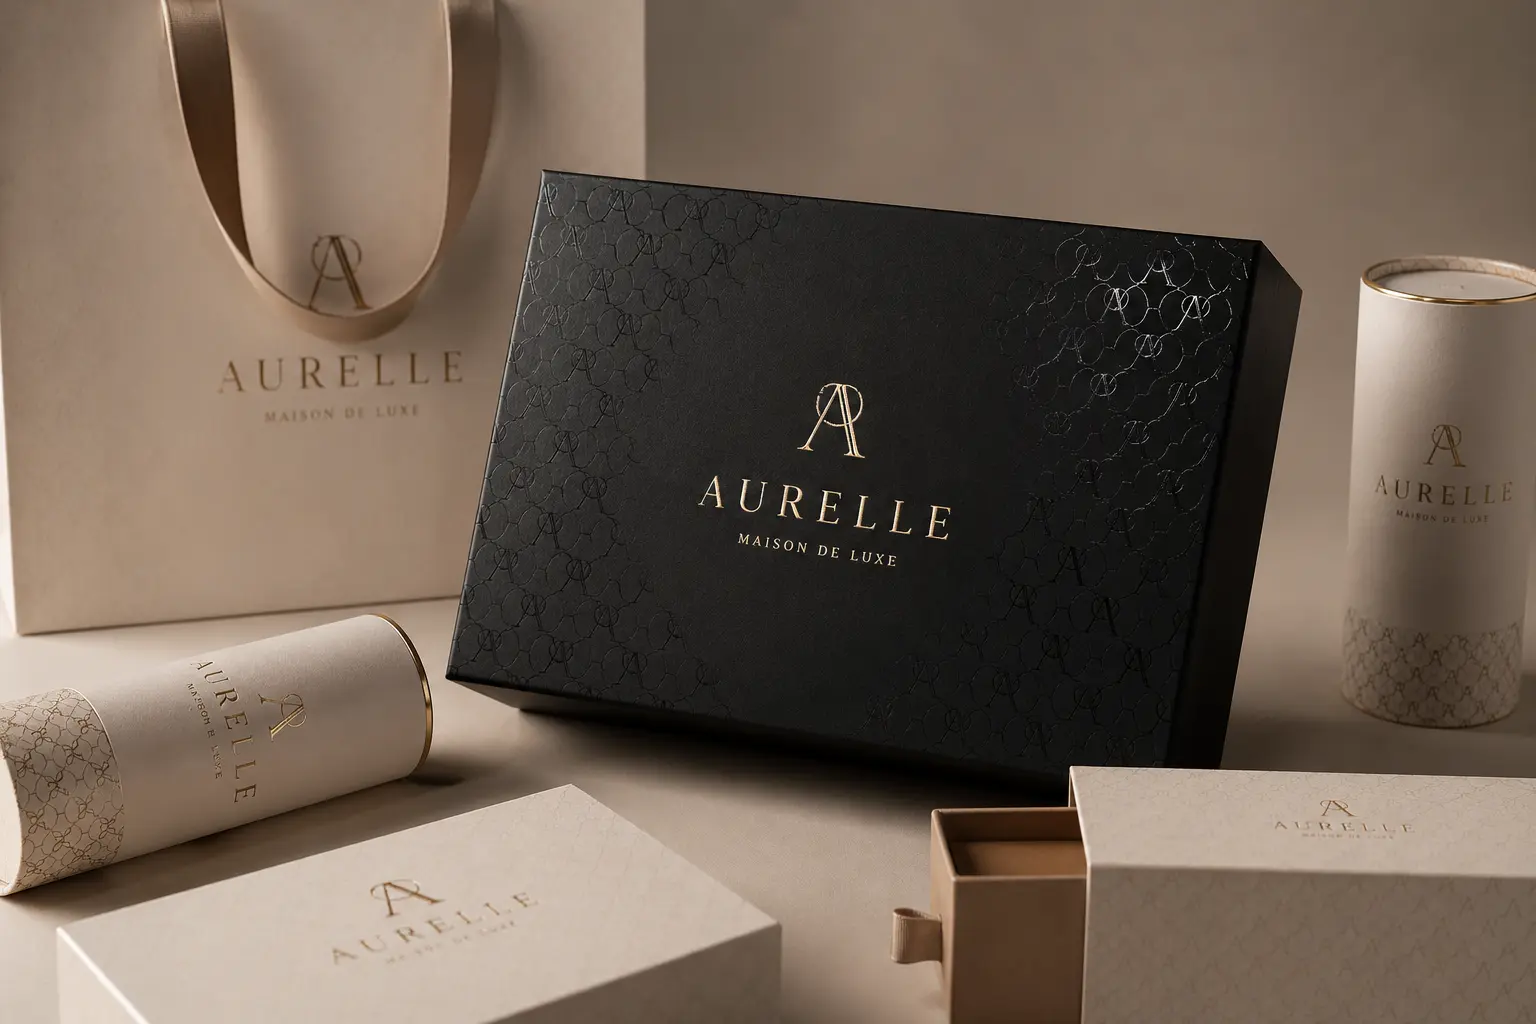
UV and Spot UV
UV printing or spot UV can create sharp visual contrast. Spot UV is often used as a glossy finishing layer against a matte surface.
- Logos and patterns
- Brand marks
- Gift packaging
- Rigid boxes with matte surfaces
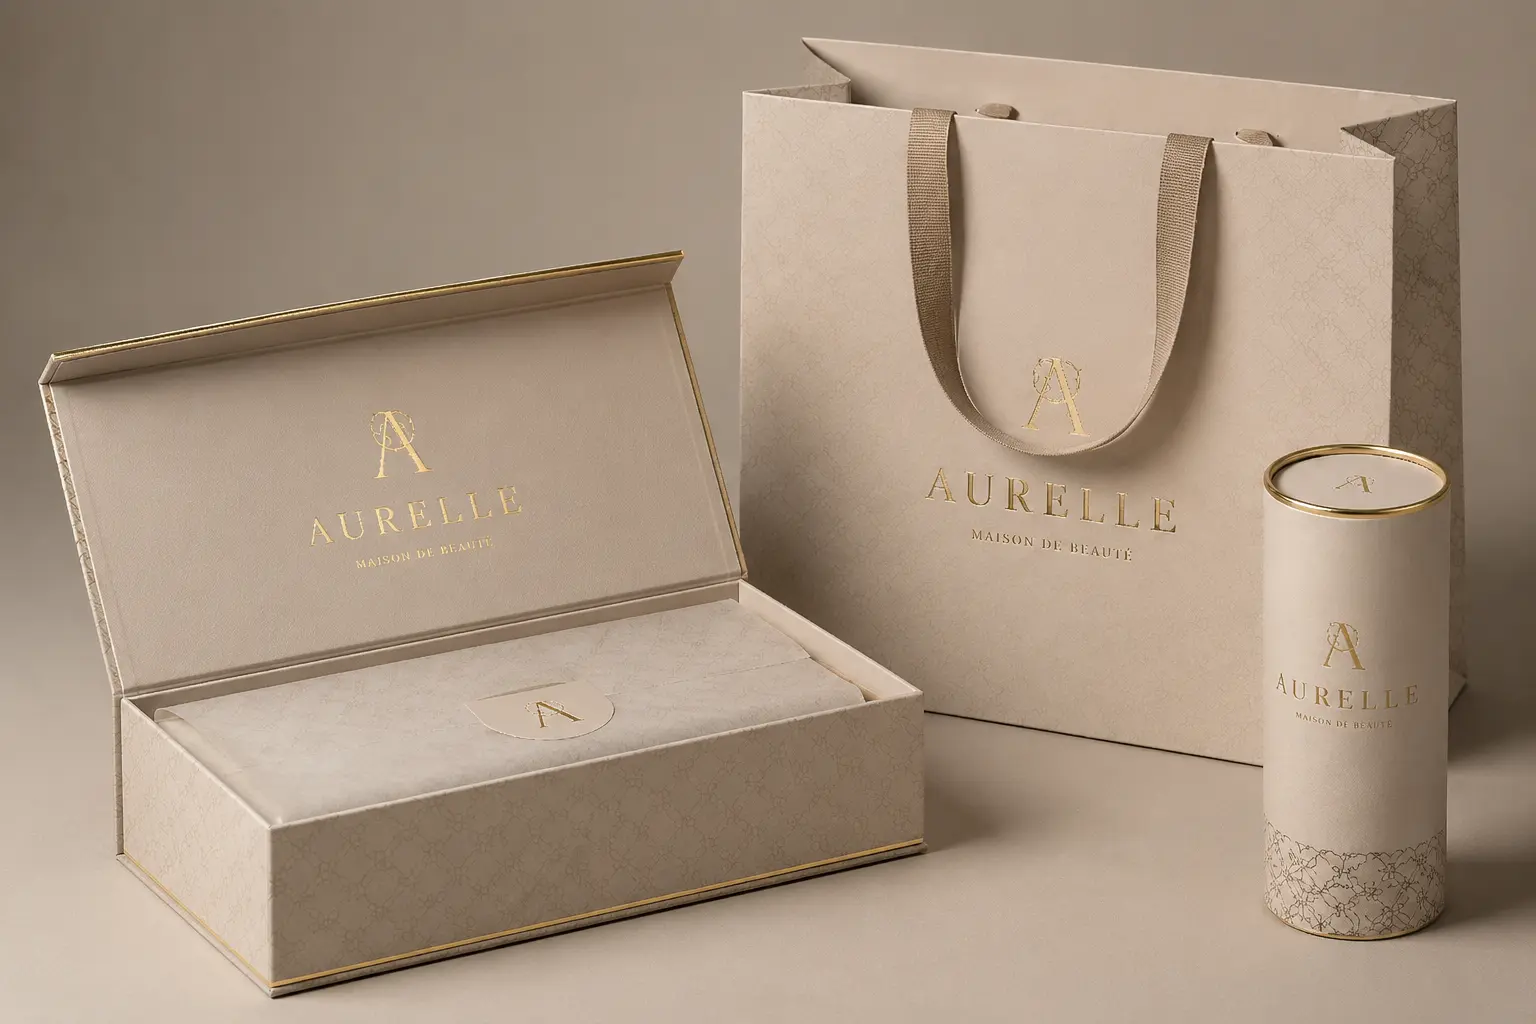
Foil Stamping
Foil stamping is often used for gold, silver, rose gold, black or colored metallic logos on boxes, bags and gift packaging.
Very small text, thin lines and complex details may fill in or lose clarity.
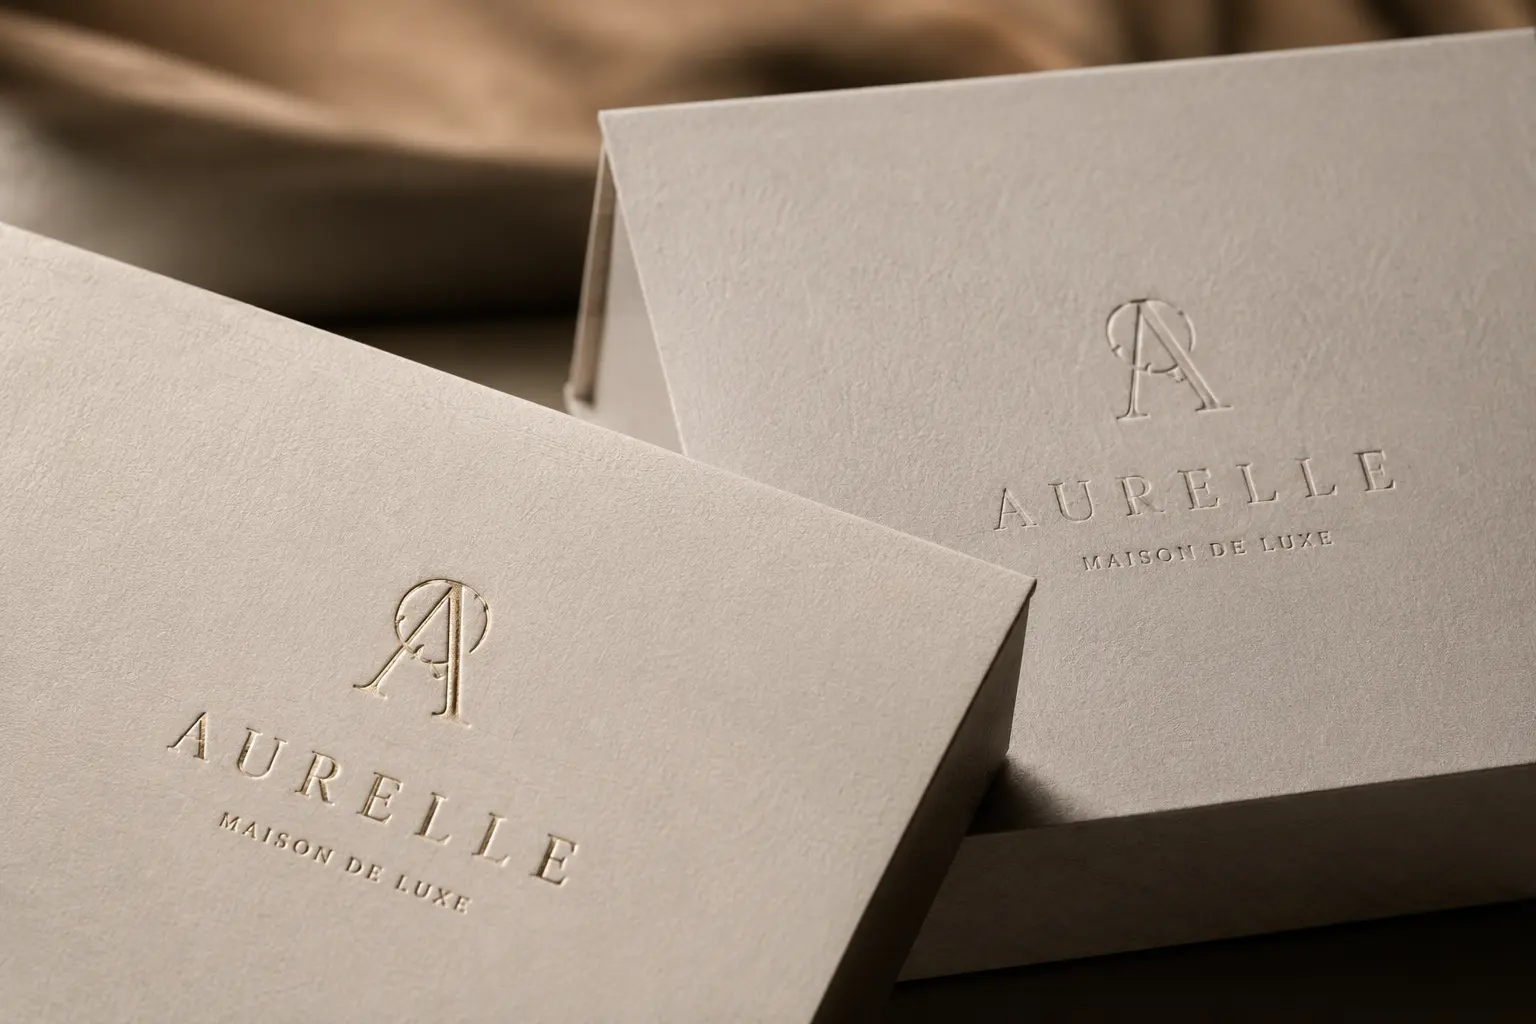
Embossing and Debossing
Embossing raises the logo surface, while debossing presses the logo into the material. These effects can create a tactile brand detail.
They work best with clear shapes, suitable size and compatible paper thickness.
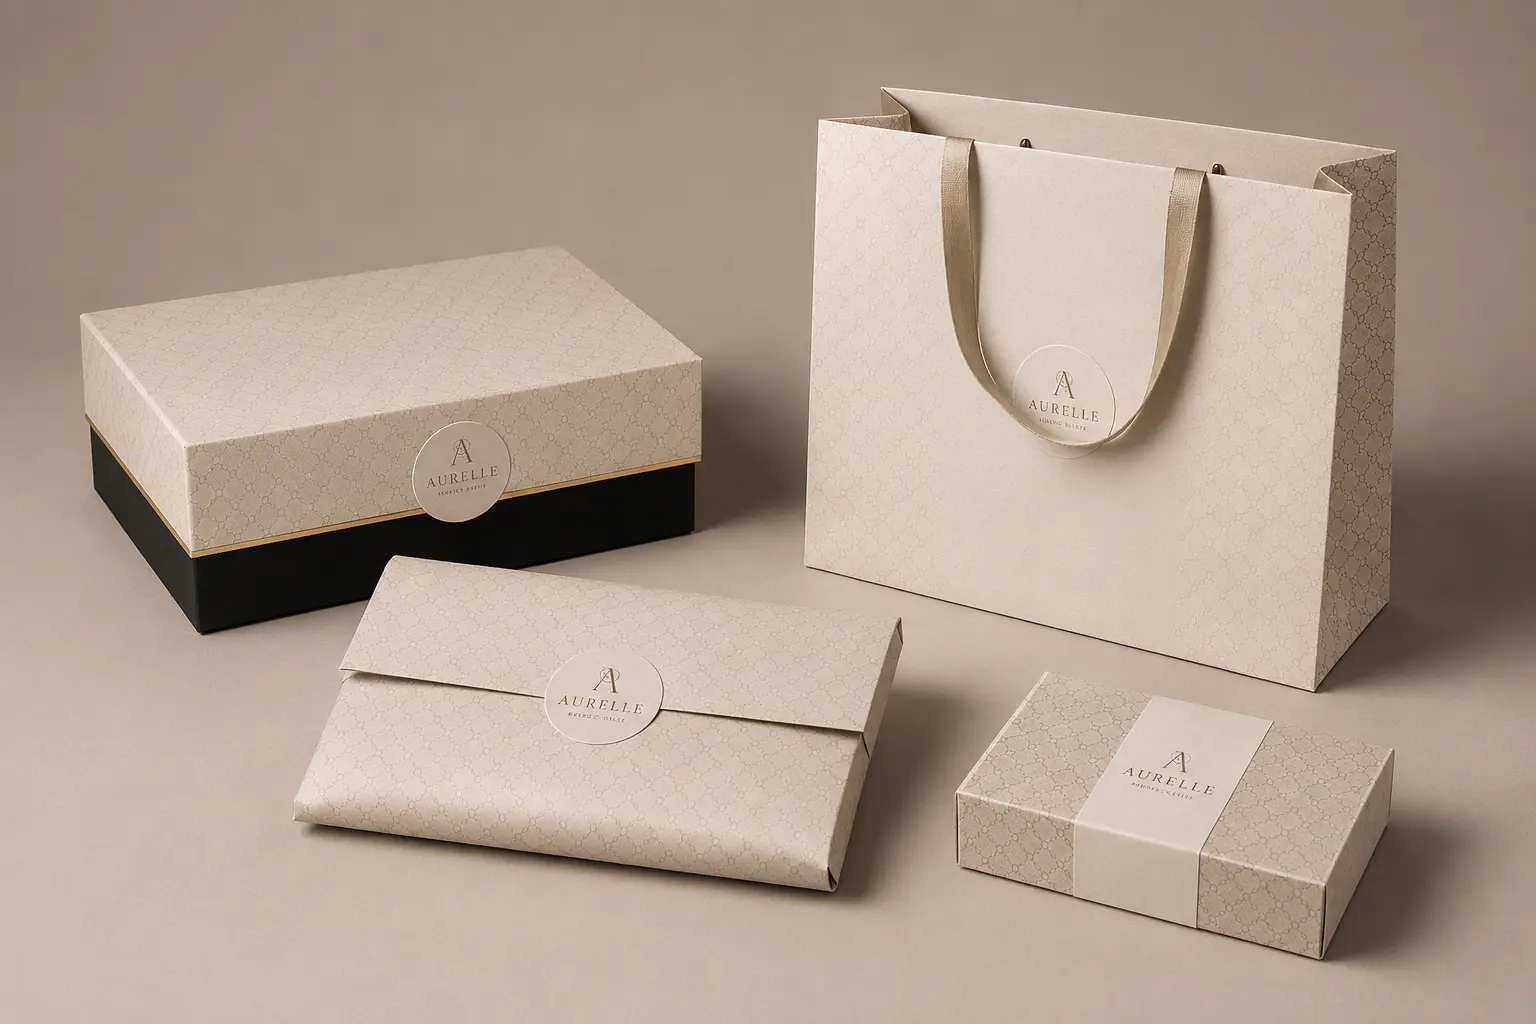
Labels and Stickers
Label or sticker application can be used in some projects when direct printing or finishing is not the best option.
The label material, edge alignment, surface adhesion and final presentation should be checked before production.
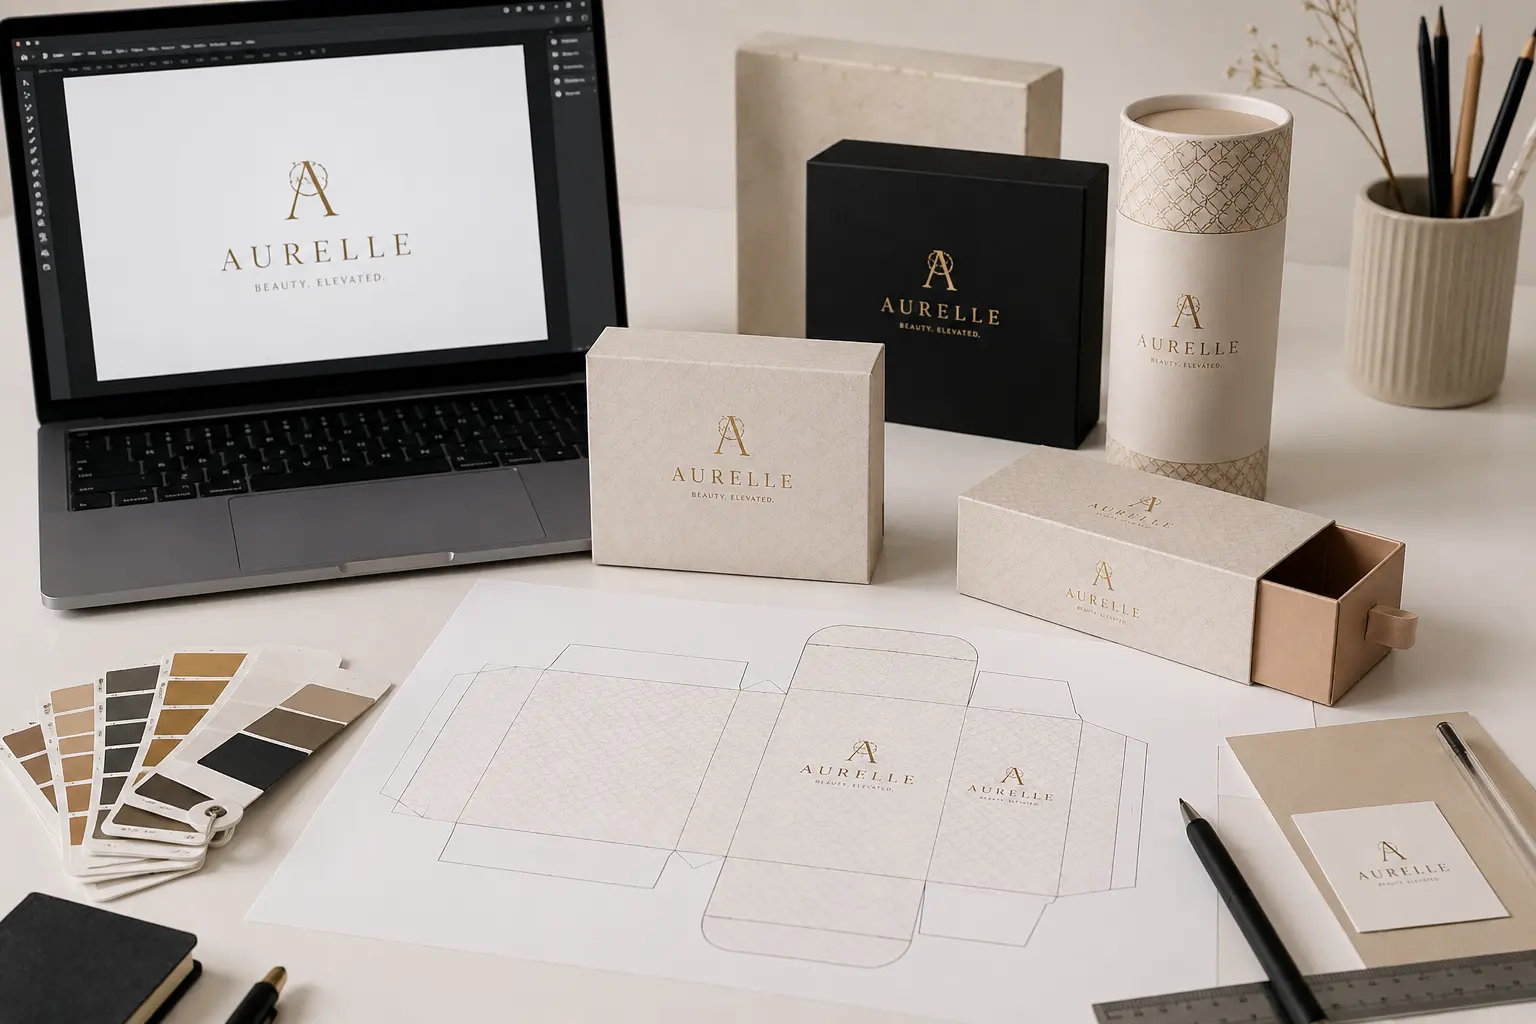
Logo File Requirements
Logo quality starts with the file. A clean vector file gives the factory better control over size, edge sharpness, print layers and finishing layers.
Preferred file formats
- AI
- EPS
- SVG
Reference files may include
- High-resolution PNG
- High-resolution JPG
- PSD when applicable
For printing and finishing, vector artwork is usually preferred. A small JPG copied from a website or social media page may look acceptable on screen but print blurry on a box or bag.
Artwork File Checklist Before Sampling
Before sending files, check whether the artwork includes the information needed for production.
File Quality
- Editable vector file if available
- Text outlined or fonts provided
- Correct logo version
- Clear file name
Color and Layers
- Clear color reference
- Print layer separated
- Foil or UV layer separated
- Barcode or required text checked
Position
- Logo position shown on the dieline
- Bleed included where needed
- Safe margin from fold lines
- Safe margin from edge or handle area
Production Risk
- Small text checked
- Fine lines checked
- Logo direction checked
- Final method confirmed before sample
Logo Size, Position and Structure
Logo placement should be checked on the actual packaging structure, not only on a flat design preview.
- Center alignment
- Distance from edges
- Distance from fold lines
- Distance from handles
- Lid or front panel position
- Drawer face alignment
- Opening direction
- Paper bag front and back side
- Tube label or wrap direction
- Insert, card or sleeve placement
Small Text and Fine Line Risks
Small text, thin strokes and detailed icons can create production problems. The risk depends on printing method, material, logo size and finishing choice.
- Thin lines disappearing
- Small gaps filling in
- Text becoming unreadable
- Foil edges becoming rough
- Embossing detail becoming unclear
- Spot UV misalignment becoming visible
- Low contrast on dark paper
- Ink spreading on textured paper
Logo Printing by Packaging Type
Logo placement should match the real packaging structure. A logo that looks centered on a flat dieline may look different after the box, bag or tube is formed.
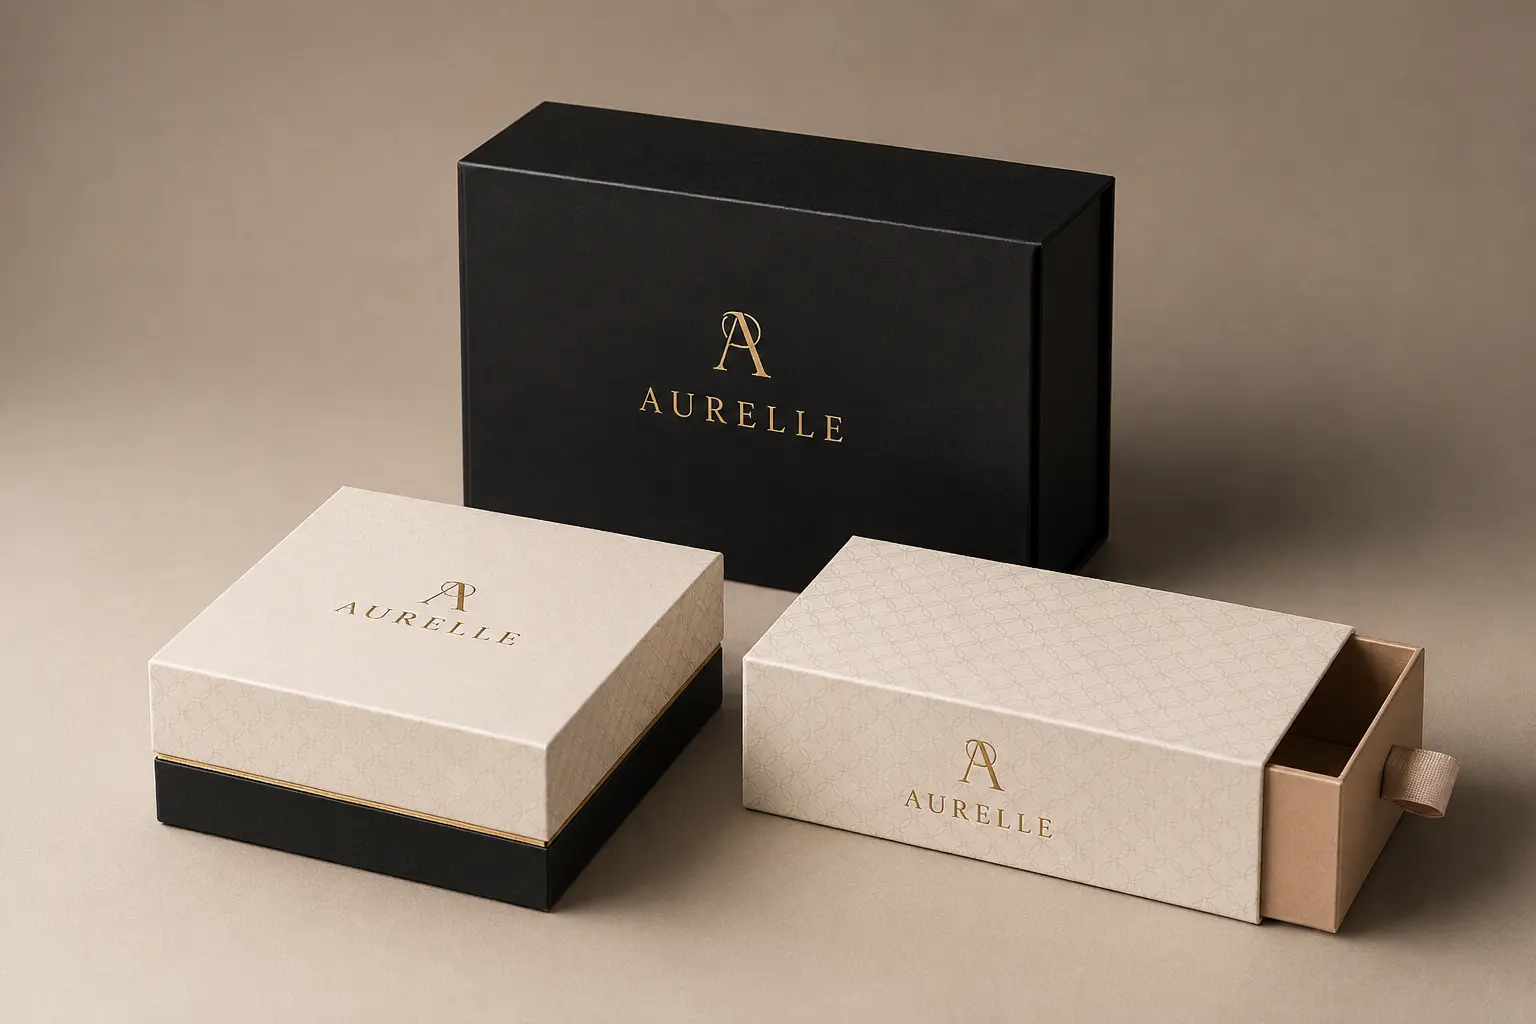
Rigid Boxes
Check lid center position, front panel position, drawer face alignment, magnetic flap position, edge distance and finishing clarity.
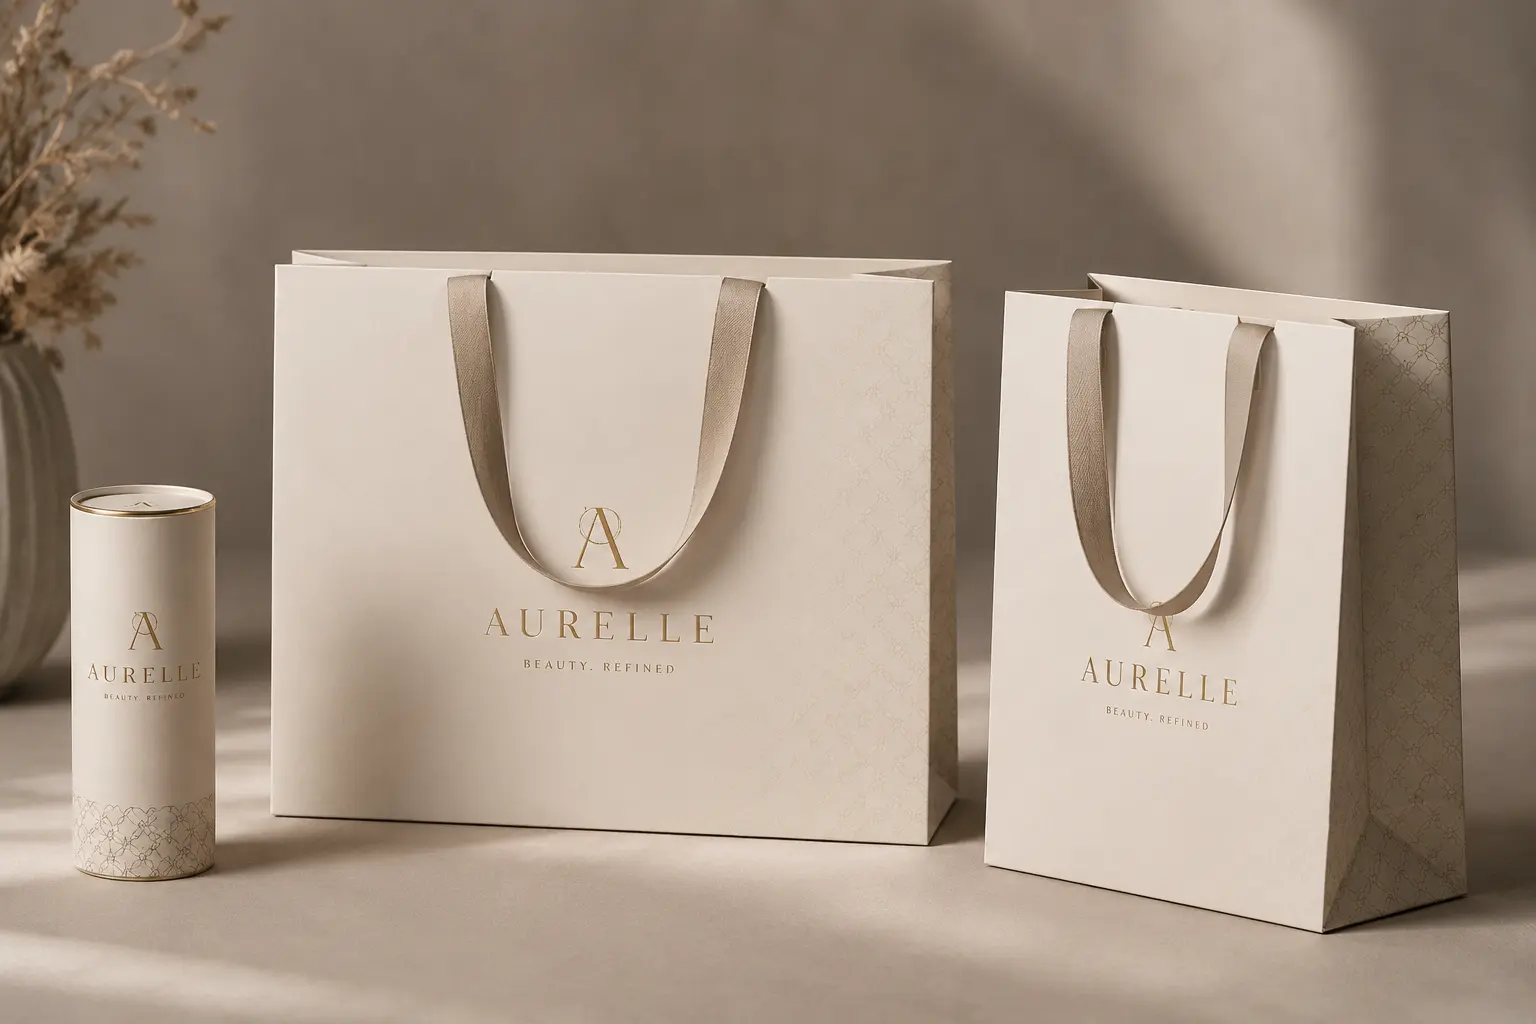
Paper Bags
Check front logo position, back logo position, handle distance, side fold interference, bottom fold area and color contrast.
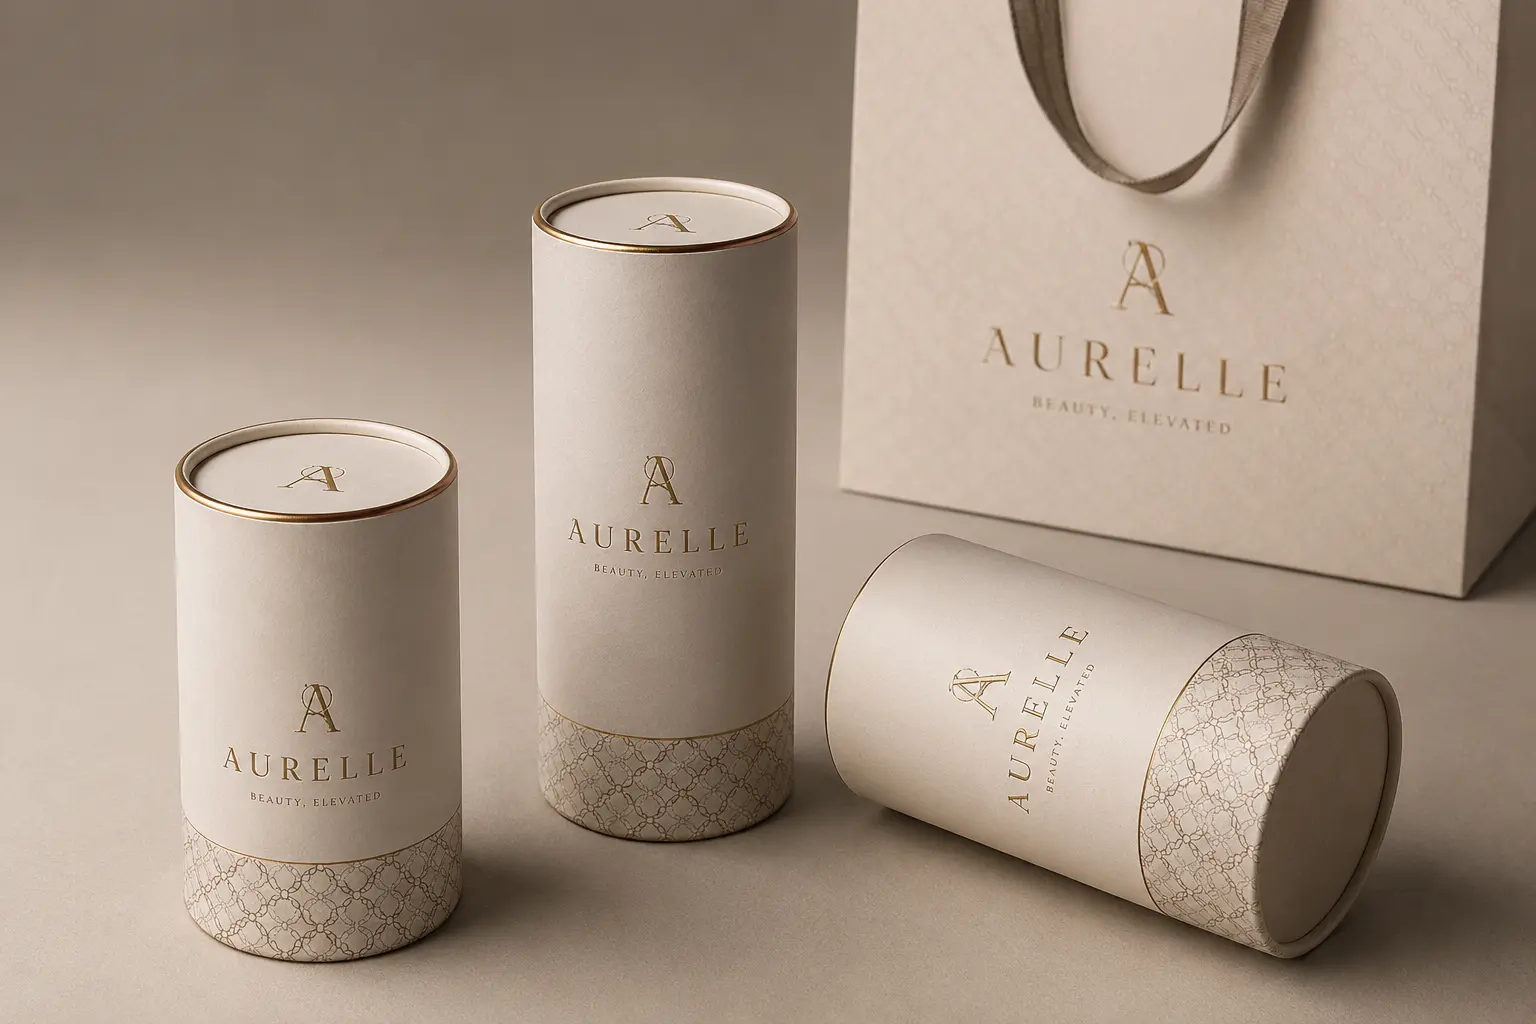
Paper Tubes
Check front-facing logo direction, label seam position, wrap alignment, lid logo position and diameter curve effect.
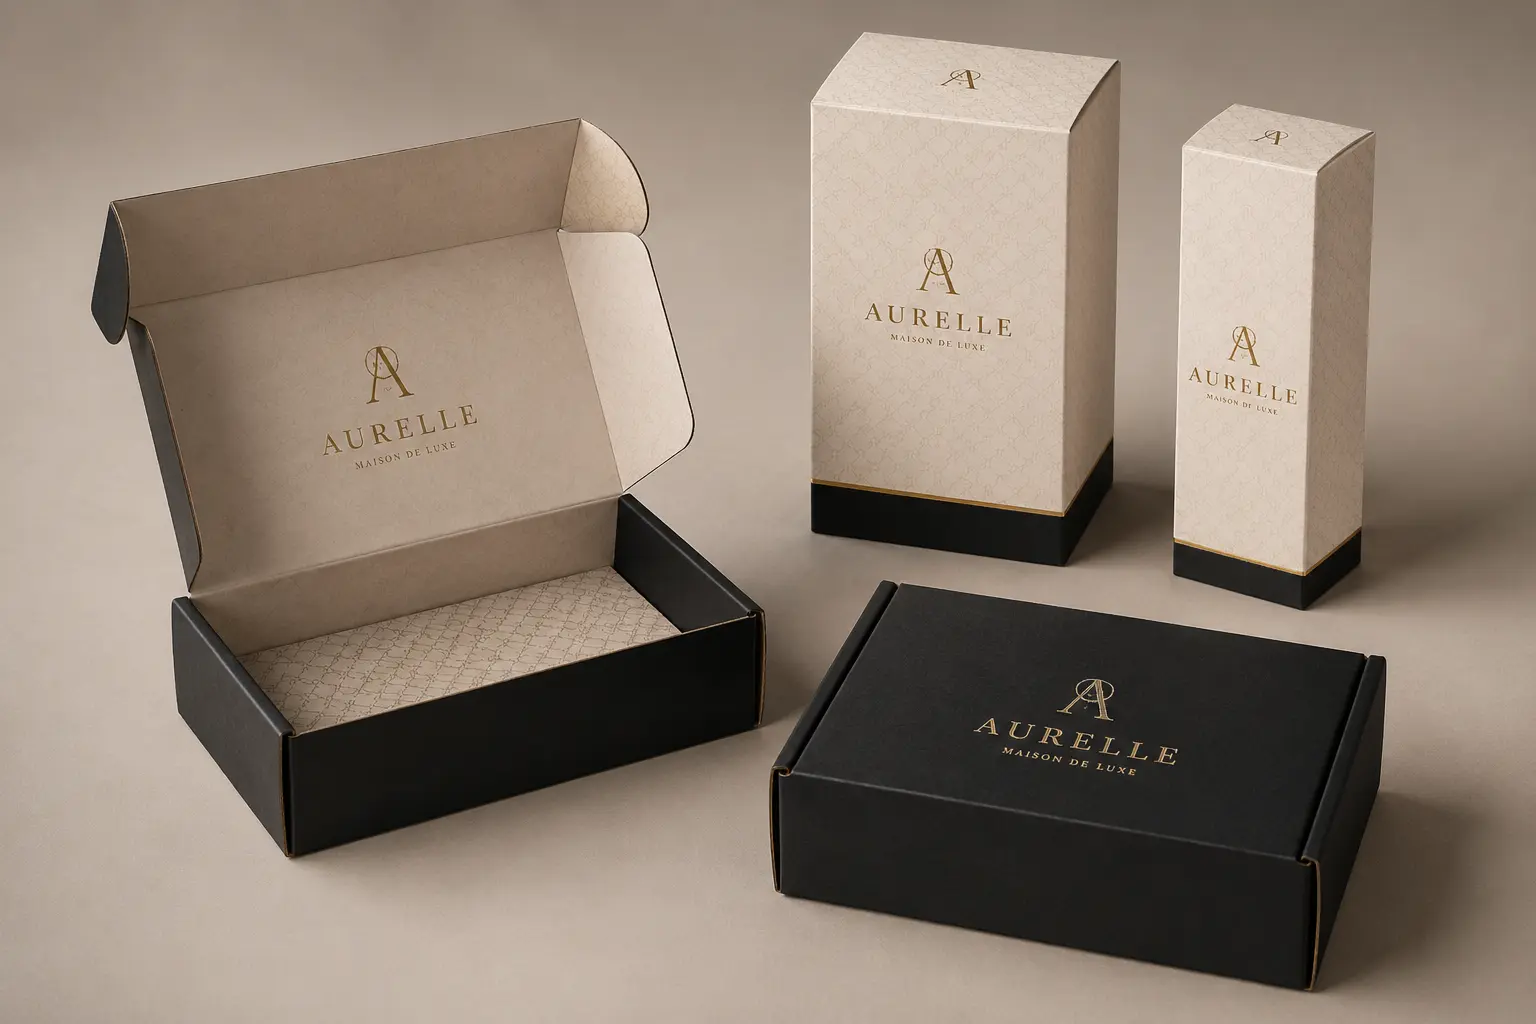
Mailer Boxes and Cartons
Check front panel, top panel, fold lines, glue flap area, tuck tab position and opening direction after assembly.
Sample Approval for Logo Printing
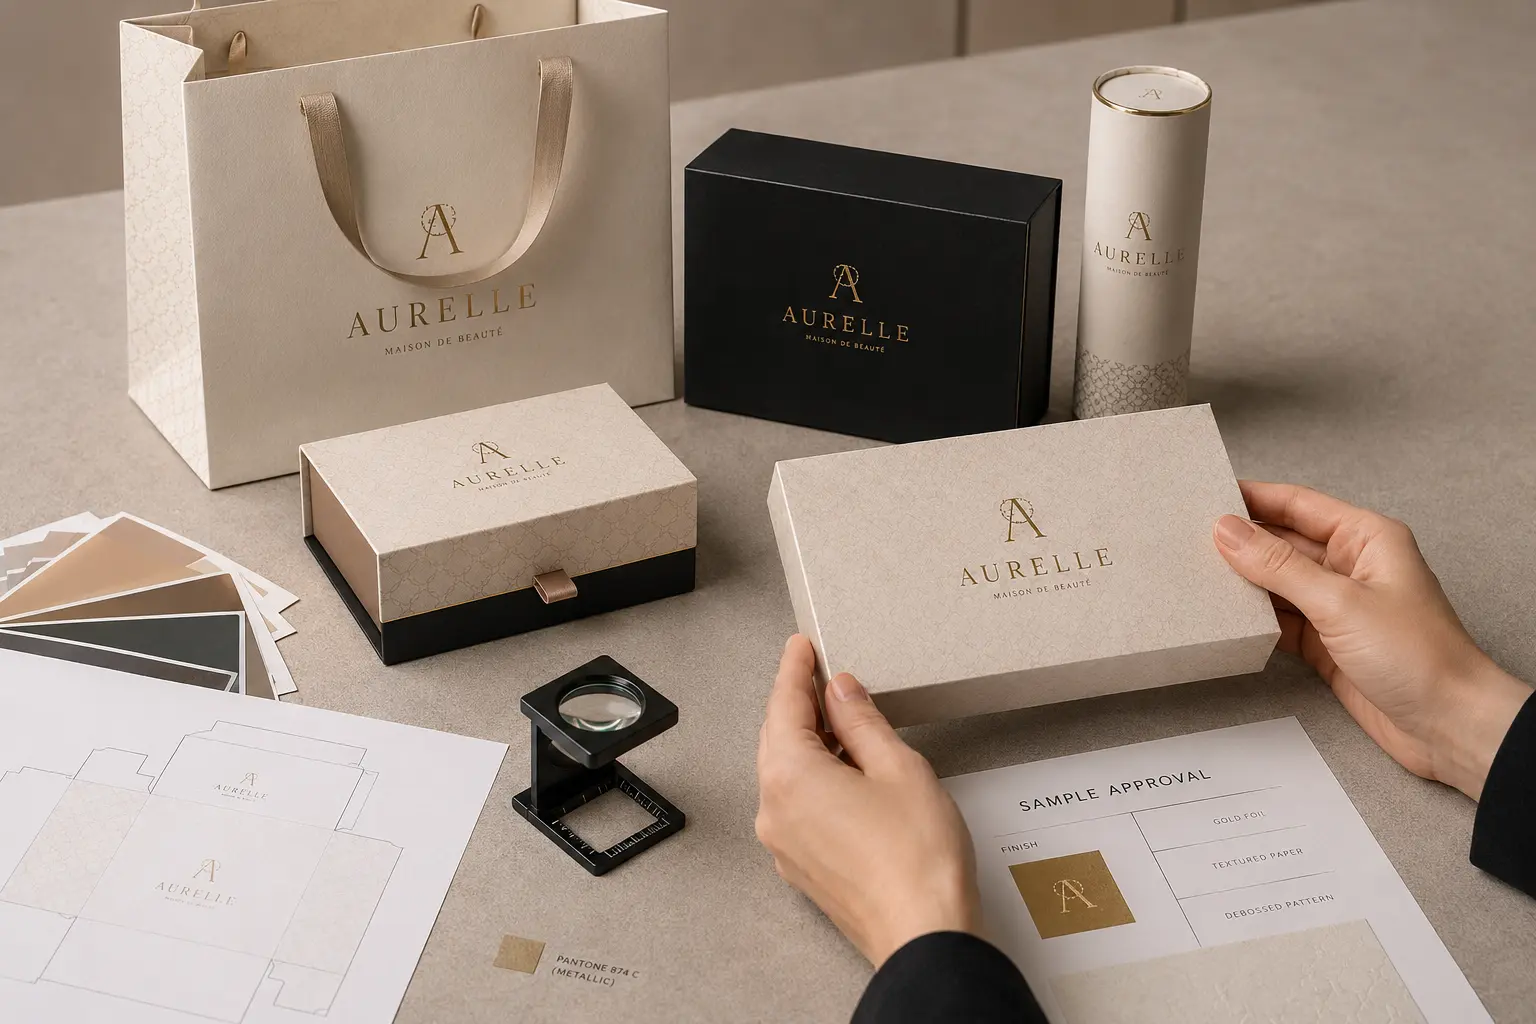
Logo approval should happen on a physical sample whenever possible, especially for special paper, foil stamping, embossing, spot UV or exact brand color requirements.
For small text, metallic effects or tight registration, review the sample together with the sampling process and final quality control checklist.
- Logo size
- Logo position
- Color direction
- Edge sharpness
- Fine line clarity
- Text readability
- Foil or UV alignment
- Embossing or debossing effect
- Logo balance on the formed box
- Matching box and bag branding
Photos can help communicate changes, but physical review is stronger when paper texture, color, shine or depth matters.
Common Logo Printing Mistakes
- Sending only a low-resolution image
- Placing the logo too close to an edge
- Using text that is too small
- Choosing foil for overly detailed artwork
- Forgetting to separate finishing layers
- Not checking logo direction on a tube or bag
- Expecting screen color to match print exactly
- Approving artwork without checking a sample
- Changing the logo after sample approval
What to Send for Logo Review
- Logo file
- Artwork file if available
- Packaging type
- Product type
- Material preference
- Quantity
- Desired logo effect
- Reference image
- Brand color reference
- Finishing idea
- Delivery schedule
If you are unsure which logo method is best, send a reference photo and explain whether you want a printed, metallic, glossy, raised, pressed or subtle effect.
Check Logo Print Options
Send your logo file, packaging type, material idea, quantity, desired logo effect, brand color reference and reference image. We can review whether printing, foil, spot UV, embossing or another method is suitable.
Send Your Logo FileFrequently Asked Questions
Common questions about logo files, logo printing methods, color, small text, foil stamping and sample approval.