Compiled by the LuxoPacks production team in Dongguan · last reviewed August 2026 · see the production floor
The Four Variables
| Variable | Options | Cost impact | Worth it when |
|---|---|---|---|
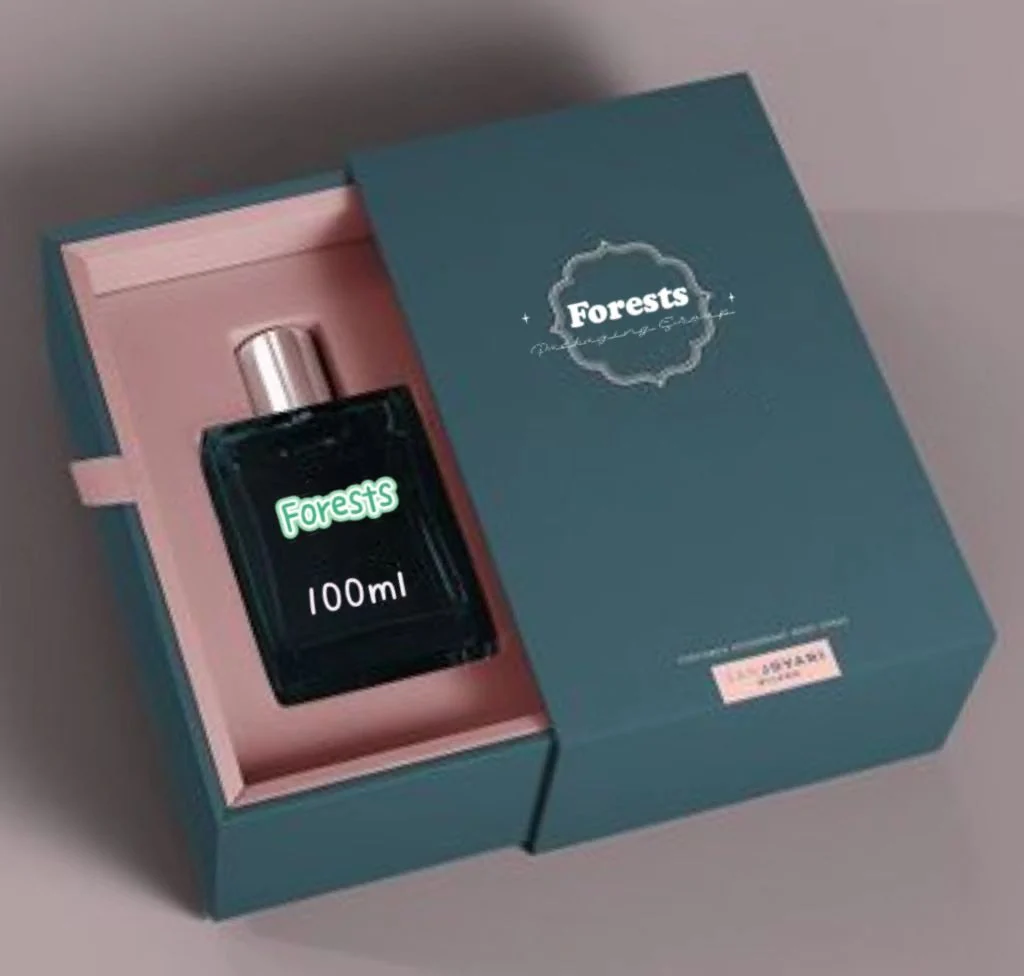
| Structure how the box opens | Magnetic flap, lid-and-base, sliding drawer, book-style, gable | Drives board area, tooling and assembly labour | The opening motion needs to reveal and support the product clearly |
| Texture the first touch | Soft-touch lamination, uncoated specialty paper, linen or velvet wrap | Depends on material, coverage and converting method | The recipient handles the pack closely; compare the actual wraps |
| Layering the pace of the reveal | Tissue, belly band, insert tray, sleeve, card pocket | Each layer adds material and pack time | Protection, grouped contents or information justify each layer |
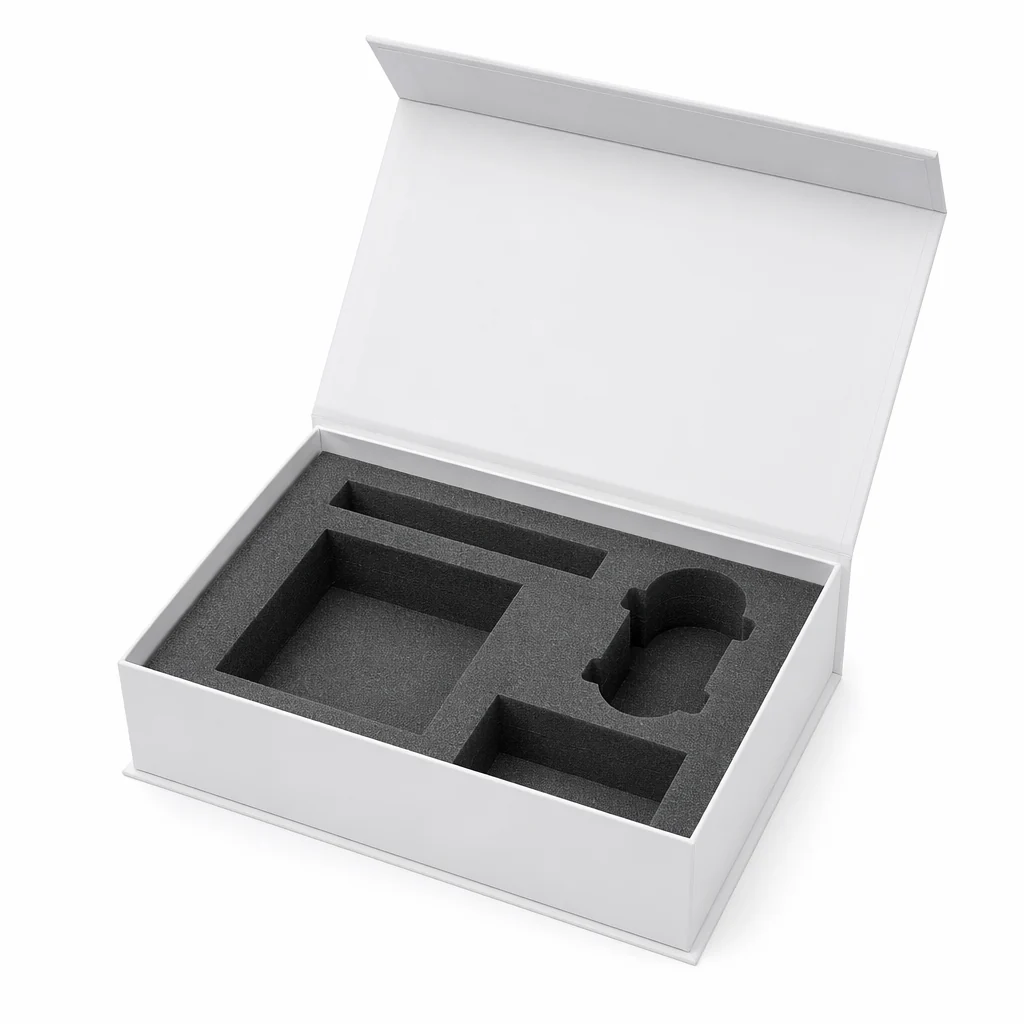
| First sight what appears on open | Product face-up in a fitted insert, printed inner lid, thank-you card | Depends on the insert, inner print and assembly | The product and brand should be legible at the first opening |
LuxoPacks reviews these four decisions together in Dongguan. Structure, wrap, insert and inner print are specified in one quotation, with custom production from 500 pcs per design and size.
Combinations by Budget Position
Build the functional arrangement first: support the contents, provide a clear opening point and leave room to remove each item. Then compare a change of paper, inner print or decoration as an optional improvement on the same layout. Keep the option that improves the intended moment rather than adding layers solely to make the pack appear more elaborate.
| Position | Spend here first | Skip | Typical format |
|---|---|---|---|
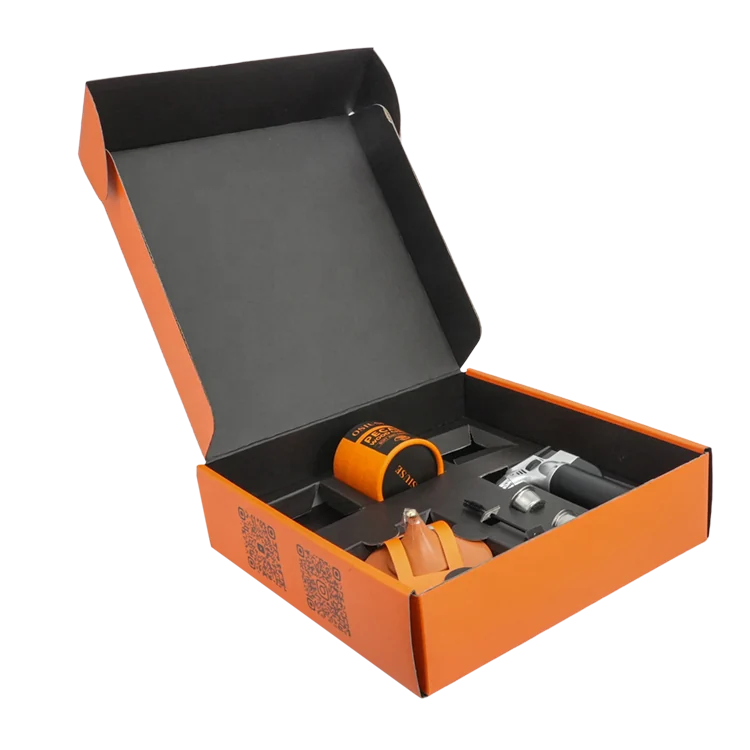
| Entry | Structure + fitted insert. Get the open and the first sight right with no decoration at all | Foil, spot UV, multiple layers | Lid-and-base or mailer, 1–2 colours |
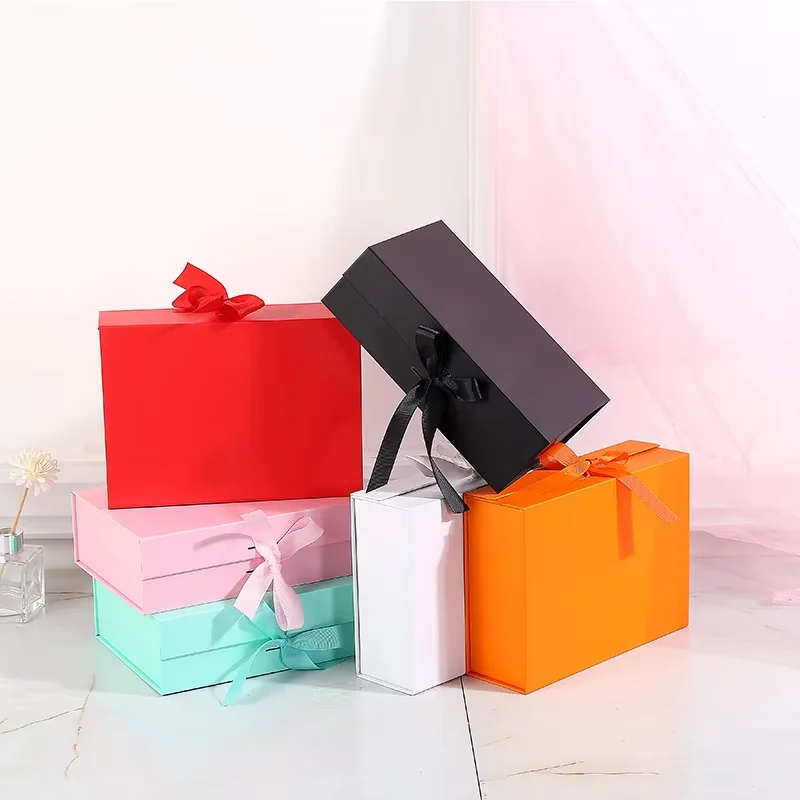
| Mid | Add soft-touch lamination and one focal finish (foil or emboss, not both) | Full-coverage specialty wrap | Magnetic rigid box with tissue and a belly band |
| Premium | Specialty or velvet wrap, combined foil and emboss, printed inner lid | Extra layers that delay the product | Drawer or book-style rigid with a moulded insert |
Compare these combinations against one product brief. A wrap, insert or finish change may affect tooling, cost and sampling. Velvet and rigid formats both start at 500 pcs per design and size.
Camera and Reshare Checklist
If the box is meant to be filmed, check the opening on a sample under the intended lighting and camera position. Resolve structural changes before final tooling where possible; decorative revisions can also add cost and sampling time. Review these unboxing packaging tips when planning the sample.
- Contrast on the open. Check that the product, insert and logo remain visible on a phone screen. Dark and light surfaces can create contrast; tone-on-tone designs need a lighting test.
- Product retention. Compare fitted inserts and loose fill for protection, removal and what happens as the package opens. Check whether fill spills or hides the product.
- Surface reflections. Compare gloss, matte and soft-touch samples under the intended lights. Camera angle and lighting affect glare on every surface.
- Logo placement. Check the outer box and the first view inside. An inner-lid print may add a useful brand position; include its print and assembly cost in the quote.
- Opening method. Test opening force, grip and product removal. A one-handed opening may help handheld filming; a two-handed opening can be recorded with a fixed camera.
Get the interior dimensions and clearances right first — a beautiful box that fits the product badly ruins the reveal. The gift box size guide has the clearance rules, and the materials guide compares the wraps and finishes named above.
Where Unboxing Projects Go Wrong
- Unnecessary layers. Give each layer a purpose in protection, presentation or information. Remove redundant layers and check that the remaining package still protects the product.
- Finish chosen on a screen. Soft-touch, matte and specialty stocks look nearly identical in a digital mockup and completely different in the hand. Approve the finish on a physical sample.
- Structure chosen last. Structure is the expensive variable and the one that drives tooling. Decide it before artwork, not after.
- Ignoring the shipping leg. A rigid box that arrives dented has no unboxing moment. If it ships direct to consumers, the outer carton is part of the design.
- No reorder plan. A seasonal design with bespoke tooling may carry a higher setup cost per unit if it is used only once. Compare a reusable structure with changeable seasonal artwork or a sleeve.
The cost side of each of these decisions is broken down in the cost guide, and the one-off charges they trigger in the design and tooling cost guide.
Unboxing Experience FAQ
What makes a good unboxing experience?
A useful opening gives a clear next action and protects the contents until they can be gripped. Watch someone unfamiliar with the sample open it: note where they hesitate, whether they turn the pack over and what they touch to remove the product. Use those observations to revise access and layout before adding decoration.
Which box structure is best for unboxing videos?
Test the intended view with the loaded sample. A drawer can hide a product until the tray is extended, a lift-off lid needs somewhere to be placed, and a hinged lid can occupy the background of the shot. Choose the structure that reveals the product clearly without an awkward hand movement, then verify it also works outside a staged recording.
Does a better unboxing experience need a bigger budget?
First adjust placement, grip access and the order in which information appears. Those decisions may use the existing components more effectively. Price extra layers, finishes and insert changes separately, including assembly work, so you can decide whether the visible improvement justifies the cost.
How many layers should there be before the product?
Keep a layer when it has an identifiable job: restraint, surface protection, essential information or a deliberate reveal. Remove or simplify a layer that only delays access, then check the loaded pack again so the change does not undermine protection. Multi-item sets may need separation even when a single-item pack does not.
Should the finish be approved on a digital mockup?
Use a digital mockup to review layout and colour direction, then approve the wrap, finish and fit on a physical sample. A screen cannot establish texture, gloss or exact colour. Confirm any tooling needed for the sample before it is made and approve the final sample before bulk production.
Instant Inquiry
Specify Your Unboxing Sequence — Free 3D Mockup
Share the box format, product dimensions and target quantity. Our team will review the brief and prepare an itemized quotation with free design support and a 3D mockup; timing depends on the project scope.
Email info@luxopacks.com or contact us on WhatsApp with your packaging requirements. Include the product dimensions, quantity for each design and size, artwork or references, and destination. Attach files directly in your message; request an NDA before sharing confidential artwork.