
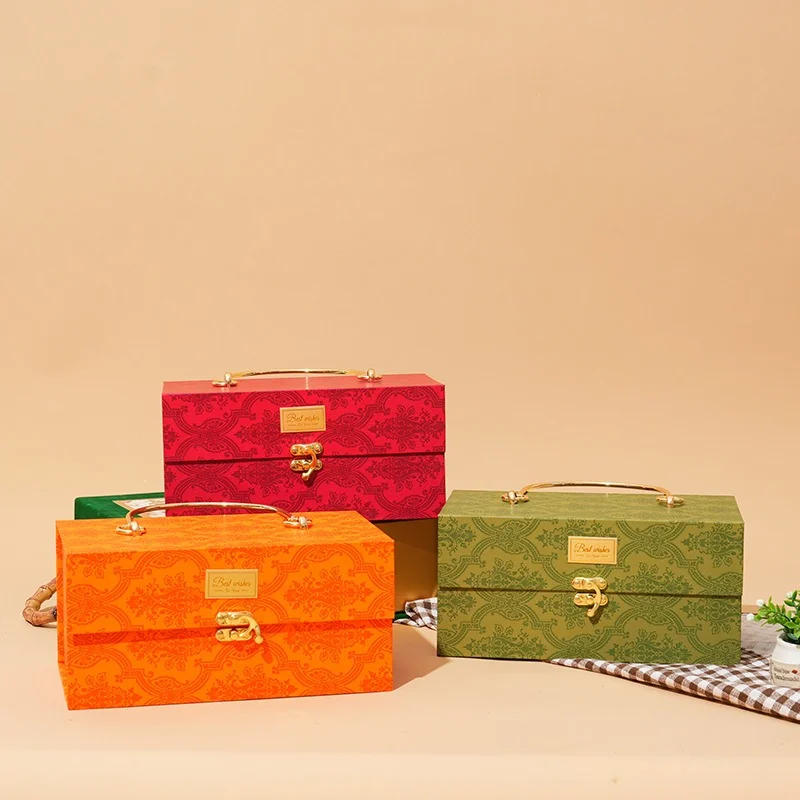
Custom Luxury Gift Boxes
Custom luxury gift boxes are developed around the product reveal, material feel and finishing detail. We combine a suitable structure with the chosen wrap, logo and insert, then sample them together so the finished experience can be judged by hand.
- ✓ Free Design Support & 3D Mockup
- ✓ Refined Materials
- ✓ Luxury Brand Finish
What Makes a Gift Box Feel Luxury?
A luxury brief needs more than a list of expensive finishes. Decide what should be noticed first: the paper, a restrained logo or the product itself. The structure and insert should support that decision throughout opening and removal.
- Rigid structure with stable box walls
- Fine paper or specialty paper surface
- Clean logo placement
- Foil stamping, embossing or debossing used with restraint
- Insert fit that keeps the product centered
- Smooth opening feel
- Careful sample review before bulk production
Use a small number of deliberate details and examine their execution. Misaligned foil, awkward clearance or a poorly wrapped corner can draw more attention than an additional decorative process adds.
Discuss a Luxury Box DirectionLuxury Comes From Details Working Together
Evaluate the box as a sequence: hold it, open it, see the product and remove it. A material that looks refined when closed still needs to work with the closure, insert and packed contents.
Surface Feel
Compare the selected wrap under ordinary handling and lighting. Check texture, visible marks and logo clarity on the formed box, not only on an untouched flat swatch.
Opening Feel
Open the loaded sample from its intended holding position. Review lid resistance, drawer movement or flap alignment and check that a ribbon does useful work rather than catching on the contents.
Product Position
Set the display height around the actual product. The insert should show the intended face while leaving a discreet grip point and enough clearance beneath the closed lid.
Rigid Structure for Premium Presentation
A rigid structure offers a stable form for a premium presentation, but its value depends on execution. Choose lid-and-base, magnetic, drawer or shoulder construction for the intended reveal, then assess edge alignment and the loaded base.
- Lid and base rigid boxes
- Magnetic closure boxes
- Drawer boxes
- Shoulder neck boxes
- Rigid gift set boxes
- Rigid boxes with paper bags or sleeves
Confirm the usable internal dimensions after the insert and lining are added. Check the lid or flap with the product loaded, and include an outer-packing proposal if the finished surface must arrive ready to gift.
Custom Rigid Boxes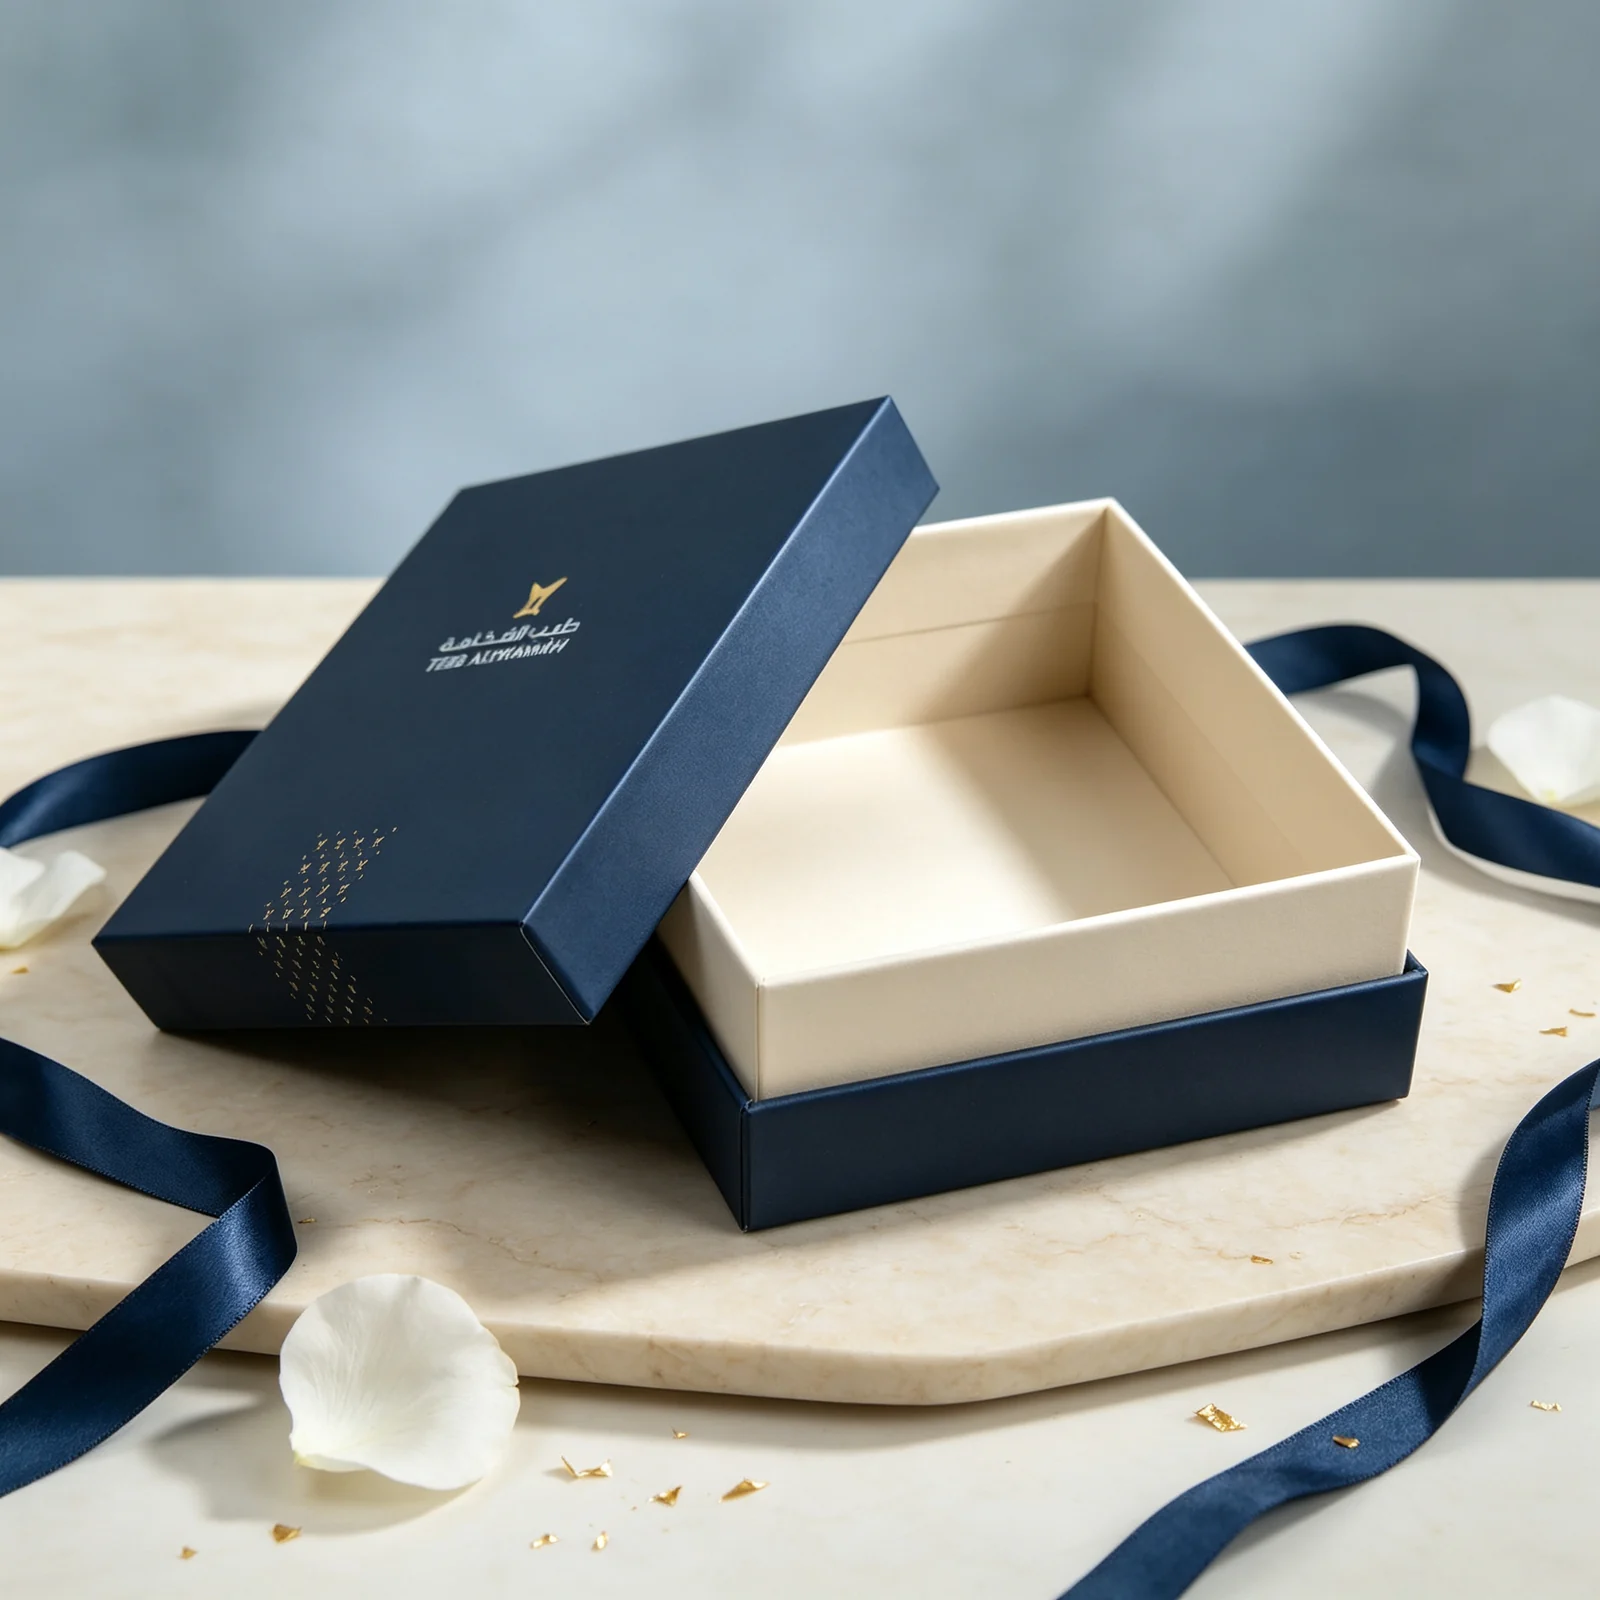
Fine Paper and Surface Feel
Choose specialty paper by its effect on the assembled package. Texture, colour and surface treatment should suit both the product and the logo method; a swatch alone cannot show wrapped corners or a large finished panel.
Sample the selected paper and finish together. Inspect dark surfaces for visible handling marks, textured areas for loss of fine detail and soft-touch areas after normal packing. Record the approved material reference so a reorder uses the same specification.
Packaging Materials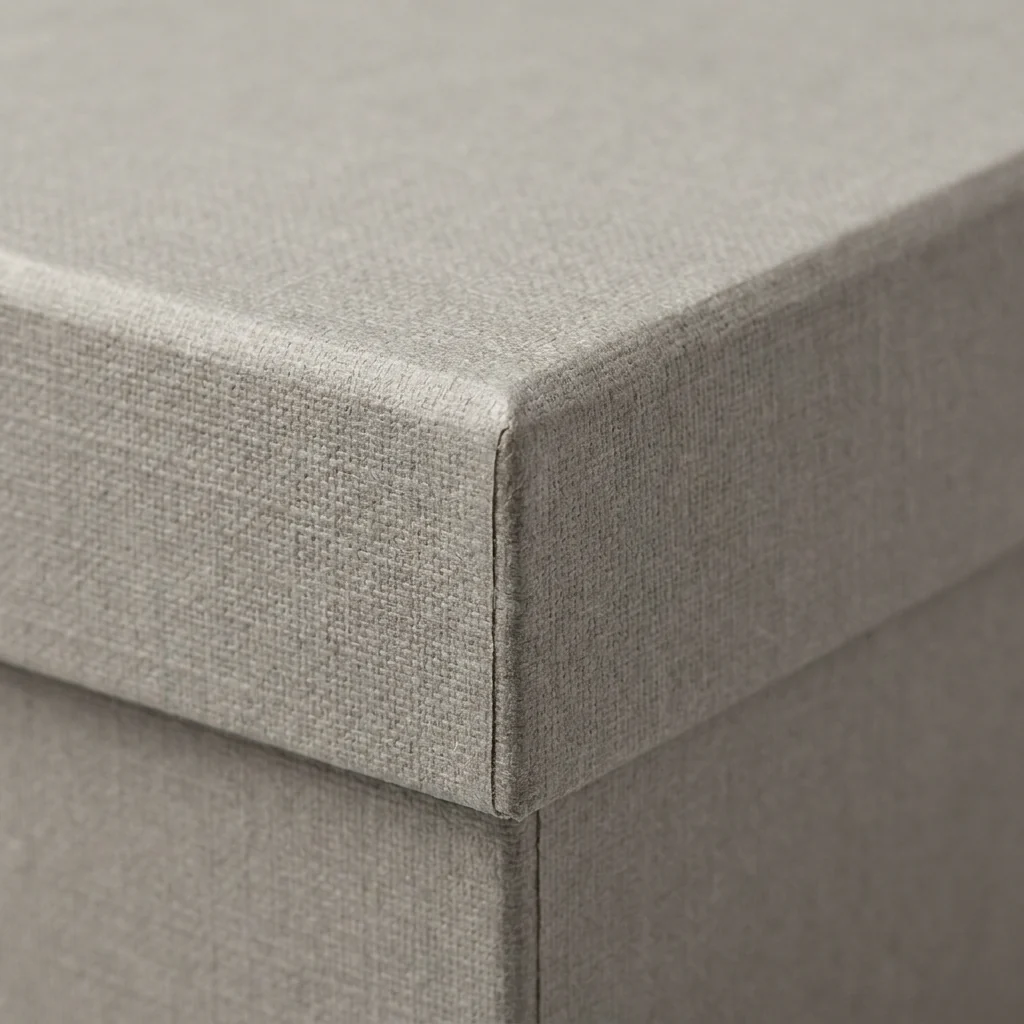
Foil Stamping
Use foil to emphasise a selected mark or detail, with its area and position defined in the artwork. A large foil panel and a small logo involve different visual decisions and should be priced as separate options.
- Gold foil
- Silver foil
- Champagne foil
- Rose gold foil
- Black foil
- Special color foil when suitable
Review foil at actual size on the chosen paper. Check small letters, fine gaps and registration with printed artwork, including how the mark sits after the wrap has been formed around the box.
Foil Stamping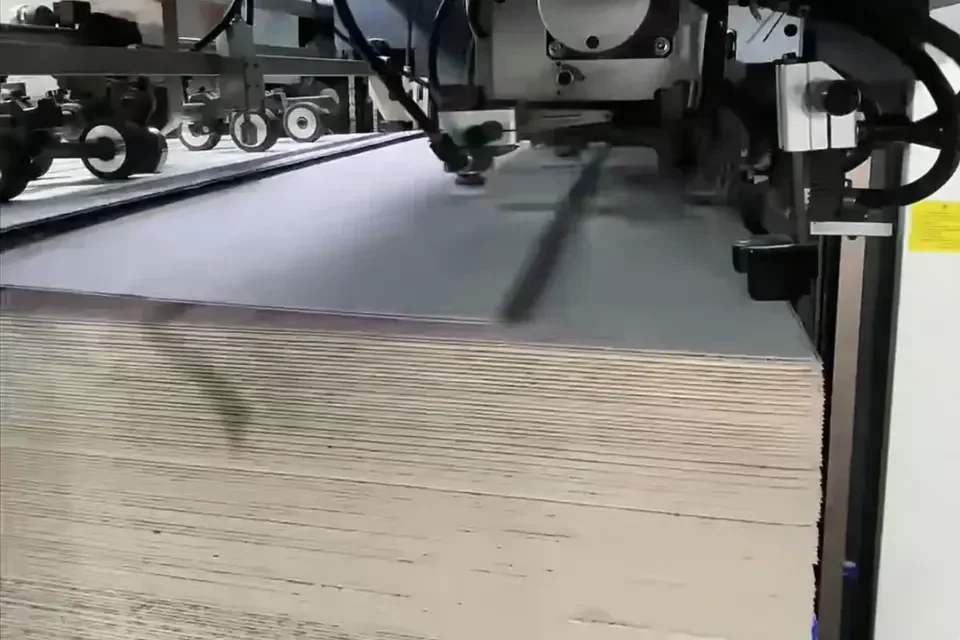
Embossing and Debossing
Embossing raises a mark and debossing recesses it. Choose the effect for readability and touch on the proposed paper, then compare a blind treatment with any combined foil or print before approving the design.
- Simple logo marks
- Monograms
- Brand patterns
- Small texture areas
- Combined foil and embossing when artwork allows
Approve the impression on the real paper and assembled panel. View it in normal light, check surrounding pressure marks and confirm that the chosen depth remains legible without relying on a studio photograph.
Embossing and Debossing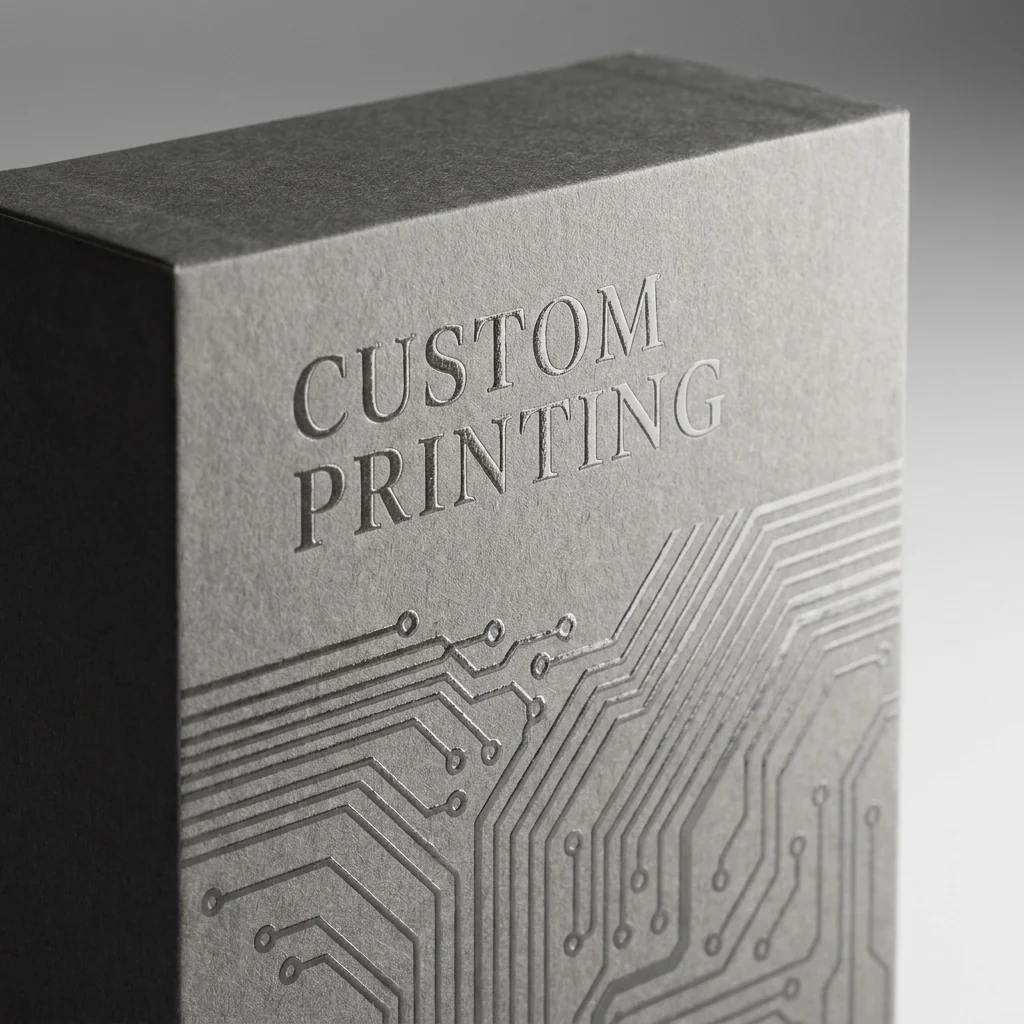
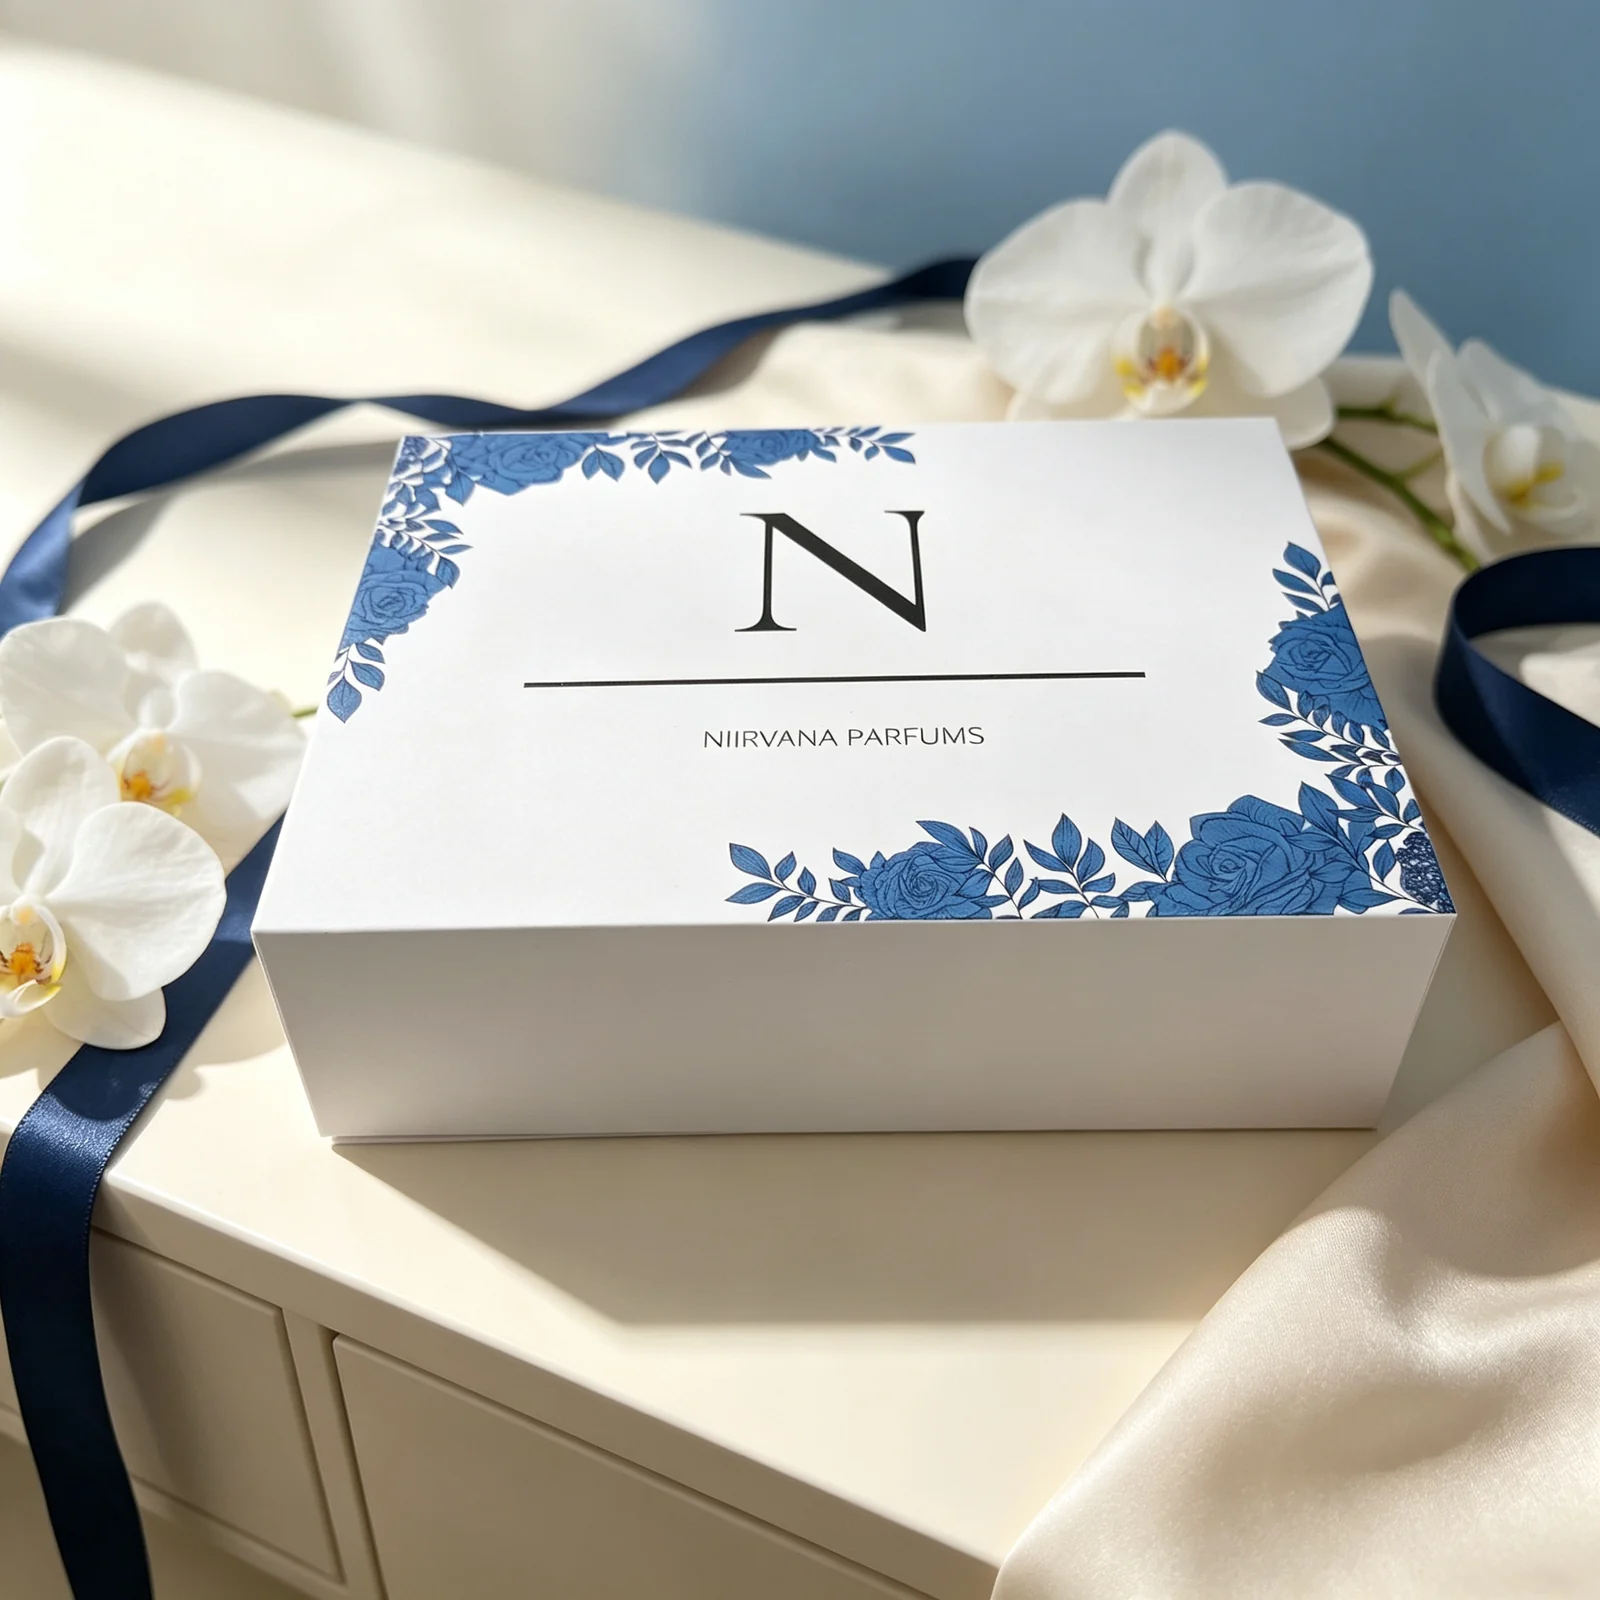
Ribbons and Opening Details
Give each ribbon a defined function: lifting the product, pulling a drawer, opening a lid or tying the gift. Its width, visible length and attachment should follow that function and the surrounding material.
- Ribbon width
- Color matching
- Fixing point
- Pull strength
- Whether the ribbon affects box closure
- Whether the ribbon rubs against the product
- Whether the ribbon adds packing complexity
Test the ribbon with the complete sample. Check access, attachment, fraying and whether the bow obstructs closure; include the bow in the bag and shipping-space review if it remains tied during delivery.
Custom Packaging RibbonsInserts for Luxury Gift Boxes
A fitted insert establishes the product's position in the reveal. Specify the actual product, any protective wrapping and the desired display height before selecting a velvet-covered, EVA, paper or other insert construction.
- Paper card insert
- EVA insert
- Foam insert
- Molded pulp insert
- Velvet-covered insert
- Paper divider for sets
- Fabric-lined tray for selected projects
Check the cavity at the product's contact points, not only around its outline. Review clearance below the lid, finger access, lining edges and movement with the product in place; decorative fabric does not establish a protective or anti-tarnish property.
Custom Packaging Inserts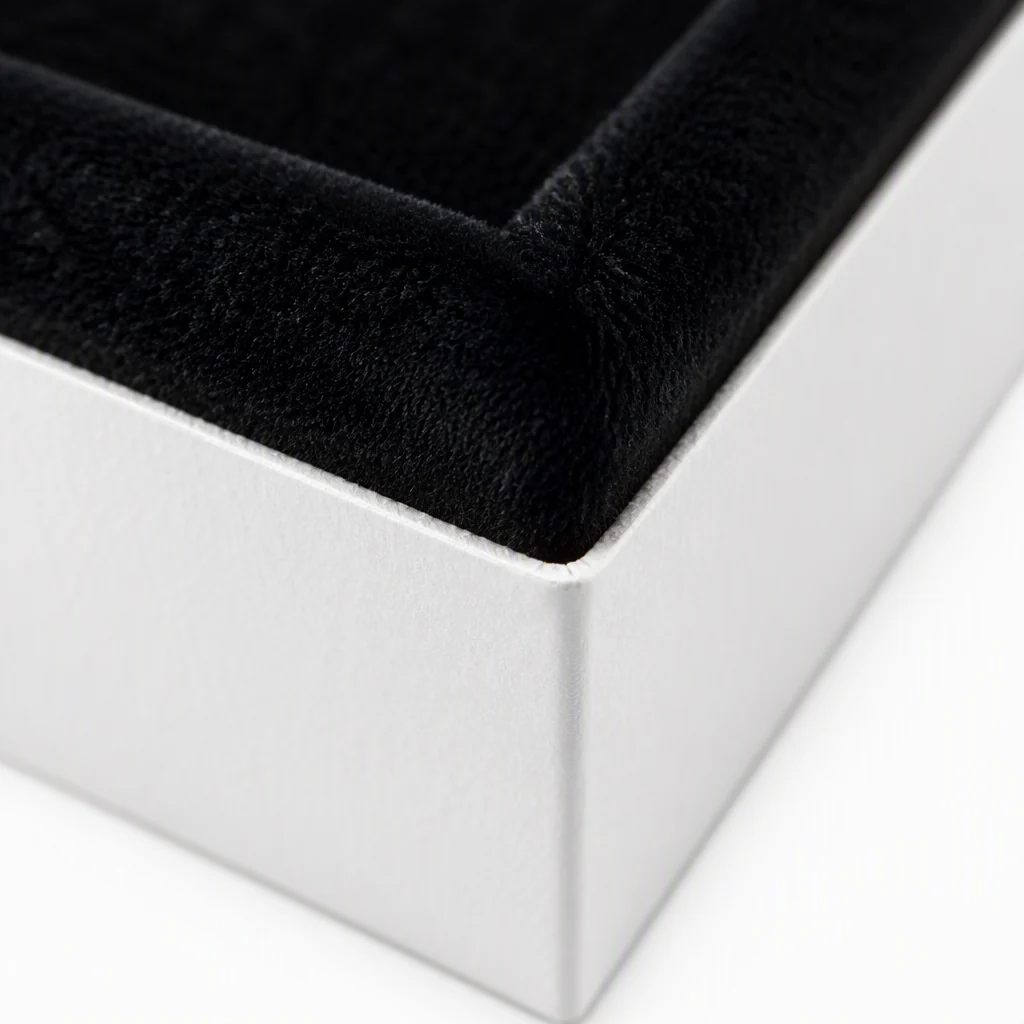
Opening Experience
Try the opening without instructions first. If the recipient needs to tilt the tray, pull on a cap or search for a grip, revise the access detail before adding more finishing to the outside.
- How the customer first holds the box
- Whether the lid, flap or drawer opens smoothly
- Whether the product is centered when revealed
- Whether the logo appears before or after opening
- Whether a card or message should be seen first
- Whether the product can be removed without damage
- Whether the box can be closed again cleanly
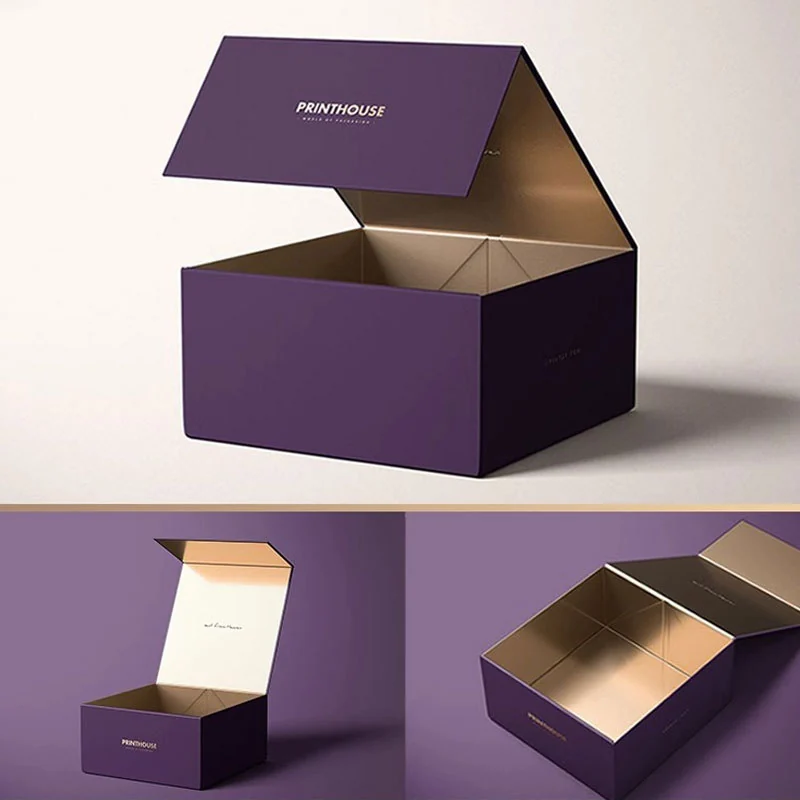
Cost Impact of Luxury Details
Separate the structural cost from the visual upgrades. Ask for the price effect of the specialty wrap, foil area, insert and accessories so the budget can be spent on the details the buyer will actually handle or see.
- Choose one main premium finish instead of many competing effects.
- Use specialty paper only where it improves the final feel.
- Keep insert structure clean and repeatable.
- Avoid oversized boxes unless the empty space is intentional.
- Confirm all product dimensions before sampling.
- Plan matching paper bags only when they add practical value.
Compare a simpler sample with the upgraded version using the same product. Keep an effect when it improves the intended presentation or use; complexity by itself is not a useful quality criterion.
Review Luxury Box Cost Options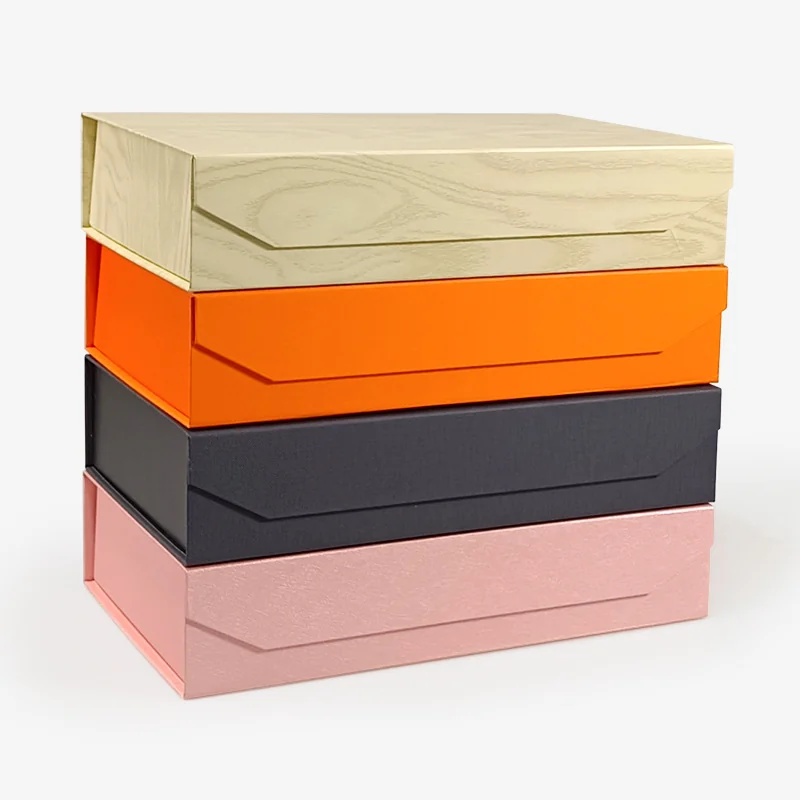
Common Luxury Gift Box Mistakes
Use the sample to identify execution risks while they can still be corrected. The checklist below turns a broad 'luxury' expectation into specific points about surface, alignment, opening and product position.
- Too many finishing methods make the design busy
- Paper texture hides foil or embossing detail
- Logo is too close to an edge or fold
- Dark paper shows scratches or glue marks
- Insert does not match the product size
- Product sits too low or too high in the box
- Lid fit feels too loose or too tight
- Ribbon color does not match the box
- Box is oversized and product looks small
- Premium surface is not protected during shipping
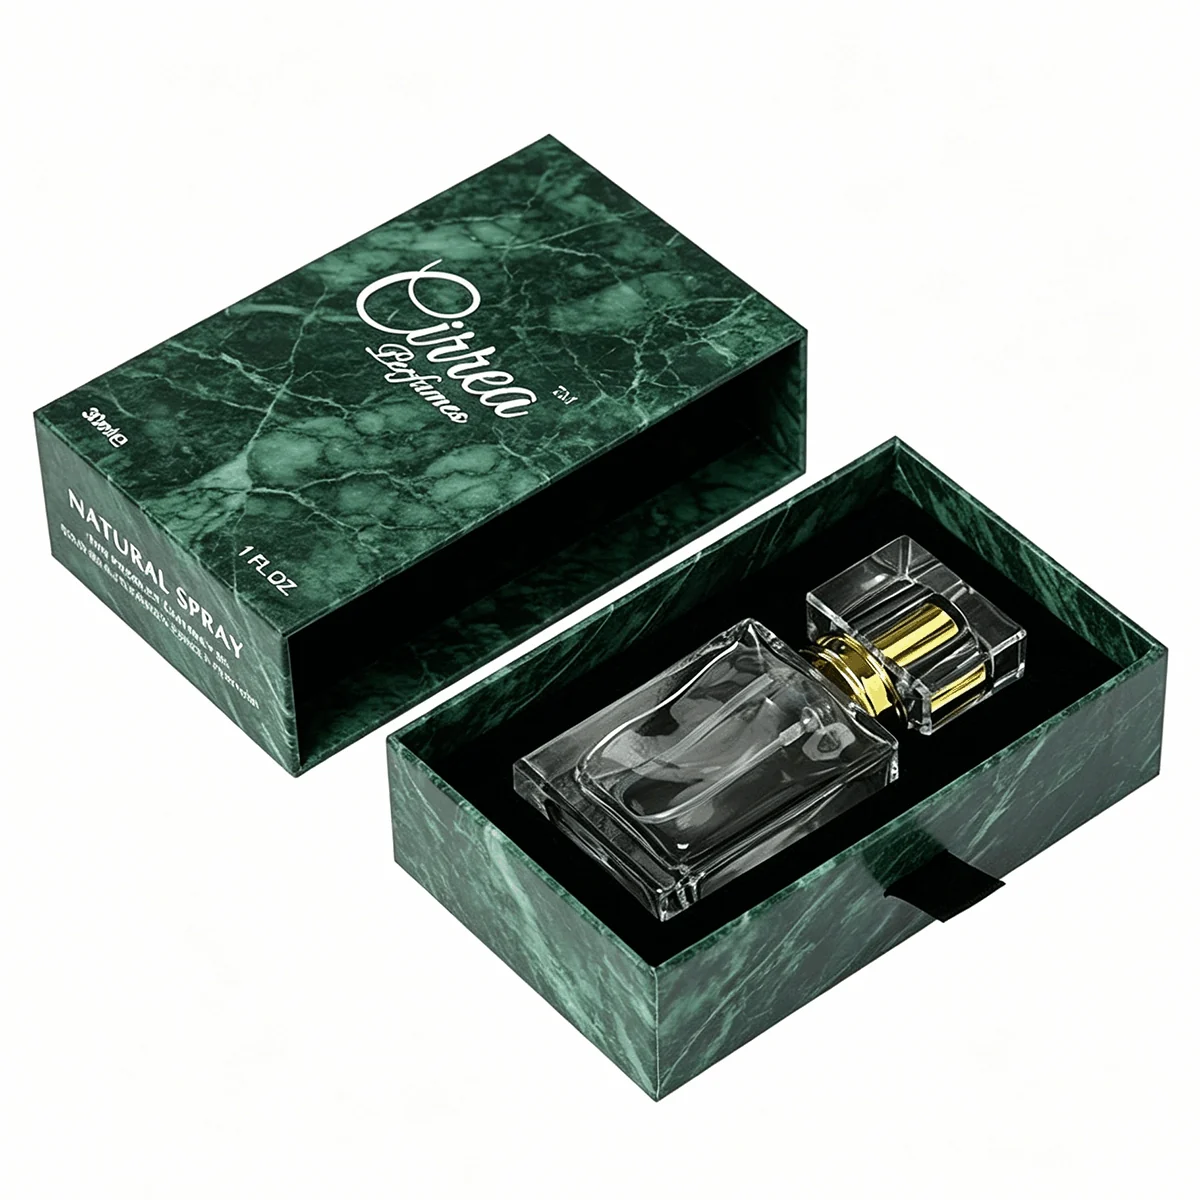
Sampling and Quality Checks
Approve the combined construction by hand. A mockup can show artwork placement, while a physical sample establishes paper feel, opening resistance and the relationship between the product and its insert.
Structure and Opening
Check the loaded base, lid alignment and chosen opening action. Look for contact between the product and moving panels, and agree any clearance changes before production.
Paper and Surface
Compare the formed wrap with the approved material reference. Inspect corners, exposed edges, visible glue and marks under the lighting in which the finished package will normally be handled.
Logo Finishing
Review the logo at reading distance and close up. Record the approved position, foil or impression reference and artwork version so the decoration is assessed against a defined sample.
Insert and Product Fit
Place the finished product in its protective wrapping, if used. Check display height, side clearance and a removal path that does not rely on touching a delicate face or pulling a closure.
Packing Protection
Review how finished boxes are separated and packed. Decide which surfaces must be protected and check that carton packing does not press on a bow, raised feature or exposed corner.
Samples usually take 3–5 days after structure and artwork confirmation. Confirm availability of the selected wrap and finish when planning the sample; bulk production usually takes 15–25 days after sample approval, with transport additional.
Build a Luxury Gift BoxWhat to Send for a Quote
A luxury-box quote needs the product measurements and the intended material experience. Identify the wrap reference, logo treatment, insert and opening detail, and mark which features are essential versus options to compare.
- Product photos
- Product size and weight
- Quantity
- Preferred box style or reference image
- Logo or artwork file
- Preferred paper texture or color
- Desired finishing such as foil stamping or embossing
- Insert requirement
- Ribbon, sleeve or paper bag requirement
- Target delivery country and date
If the finish is undecided, share the target presentation and a material reference. We can discuss a restrained and a more detailed option using the same product and structure, then sample the selected construction.
Request Luxury Gift Box Pricing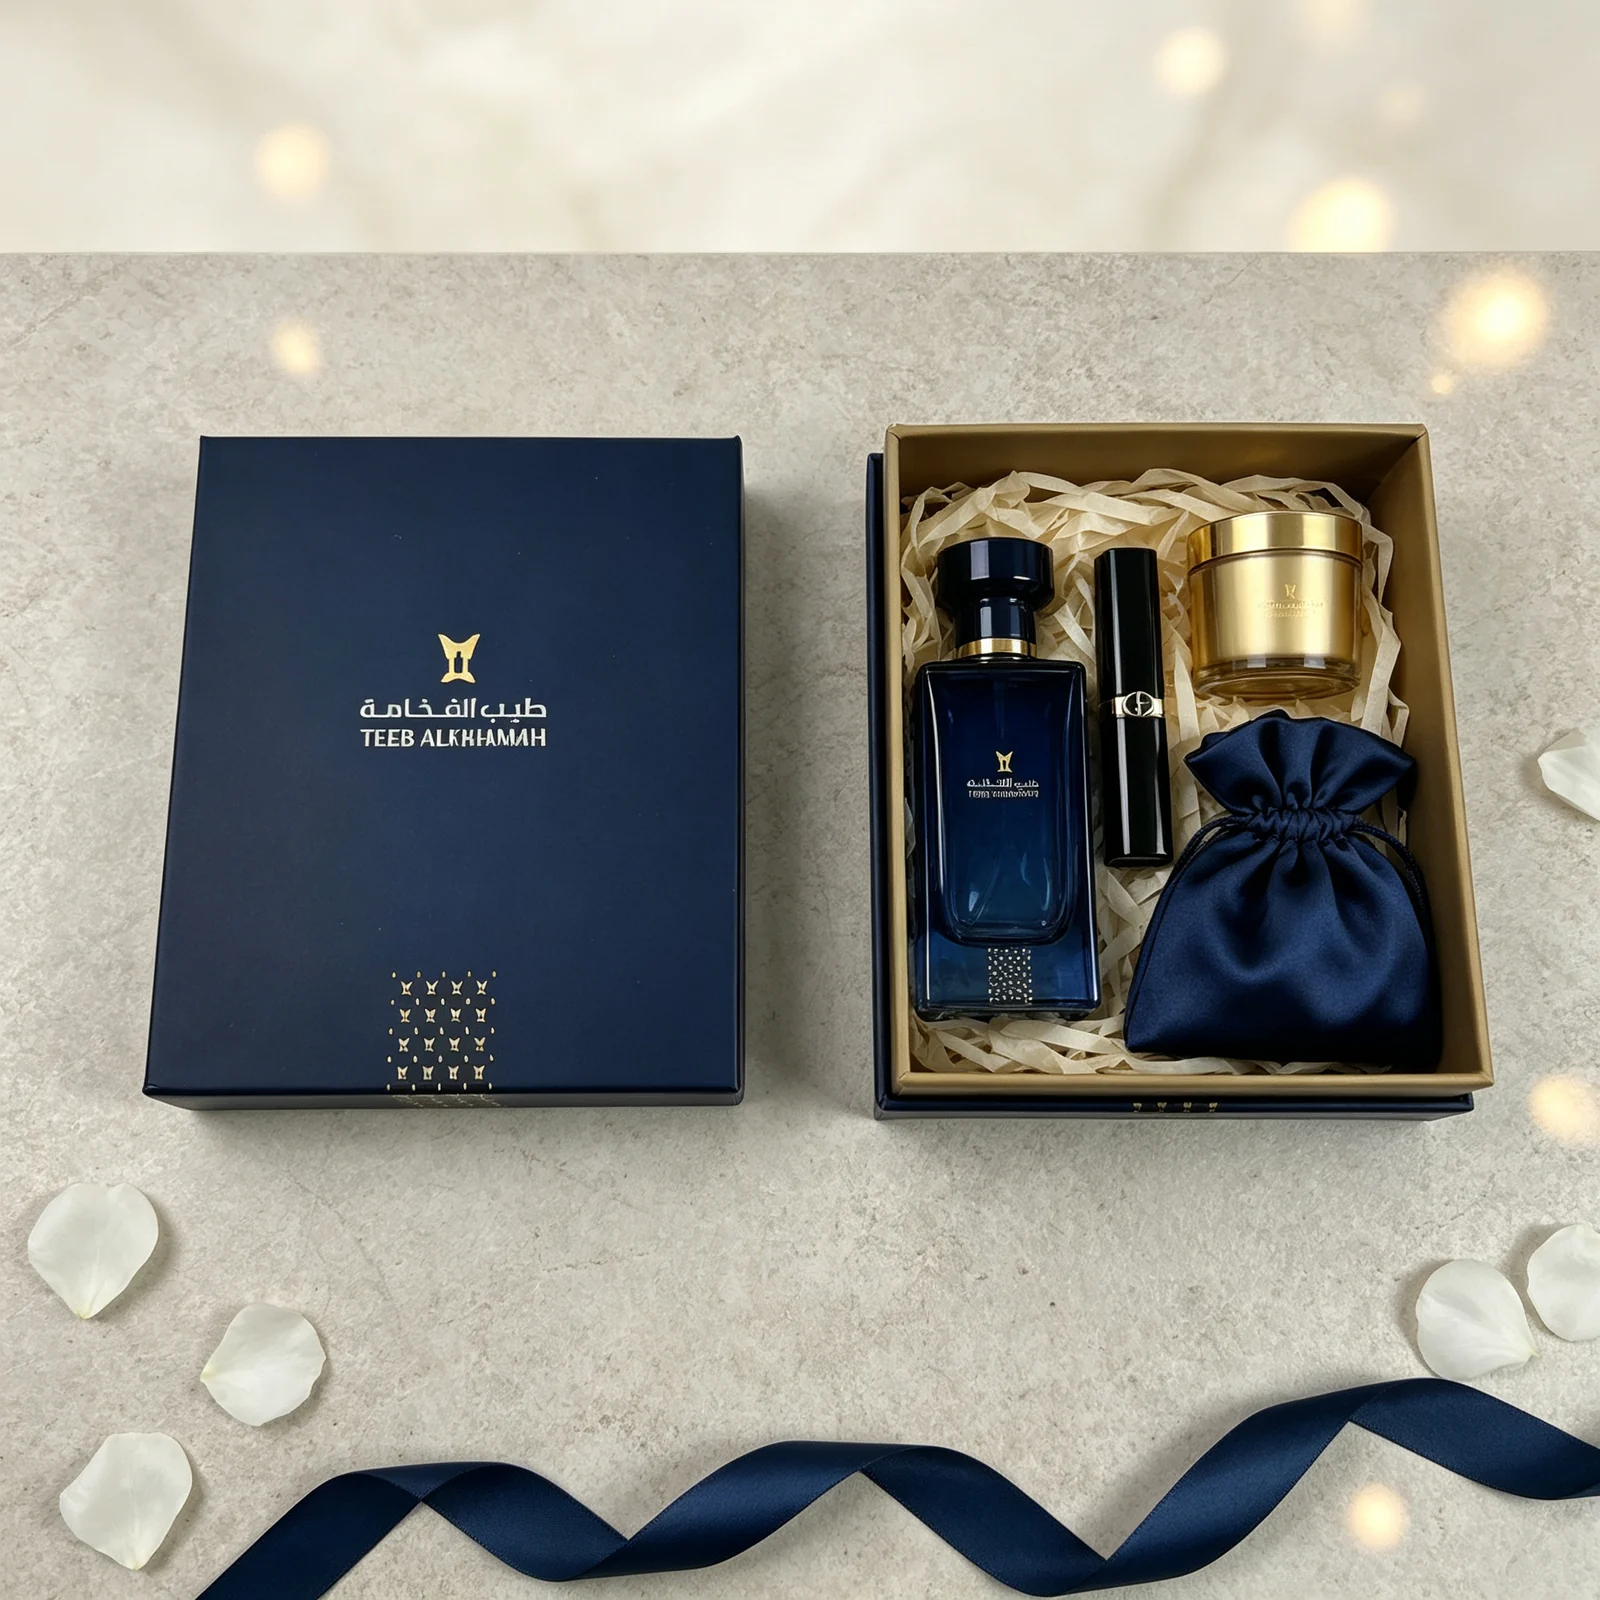
Ready to Make Custom Luxury Gift Boxes?
Send your product dimensions and weight, quantity, artwork and preferred material references. Tell us which detail should lead the reveal so the proposed structure and sample address that priority.
Request a Custom QuoteFrequently Asked Questions
These answers explain how to judge a luxury-box sample, compare premium details and plan the order without assuming that more decoration creates a better result.