Luxury Packaging Factory · FSC & ISO 9001
Free 3D Mockup
Discuss Project on WhatsApp Request Custom Quote
Slide Formats
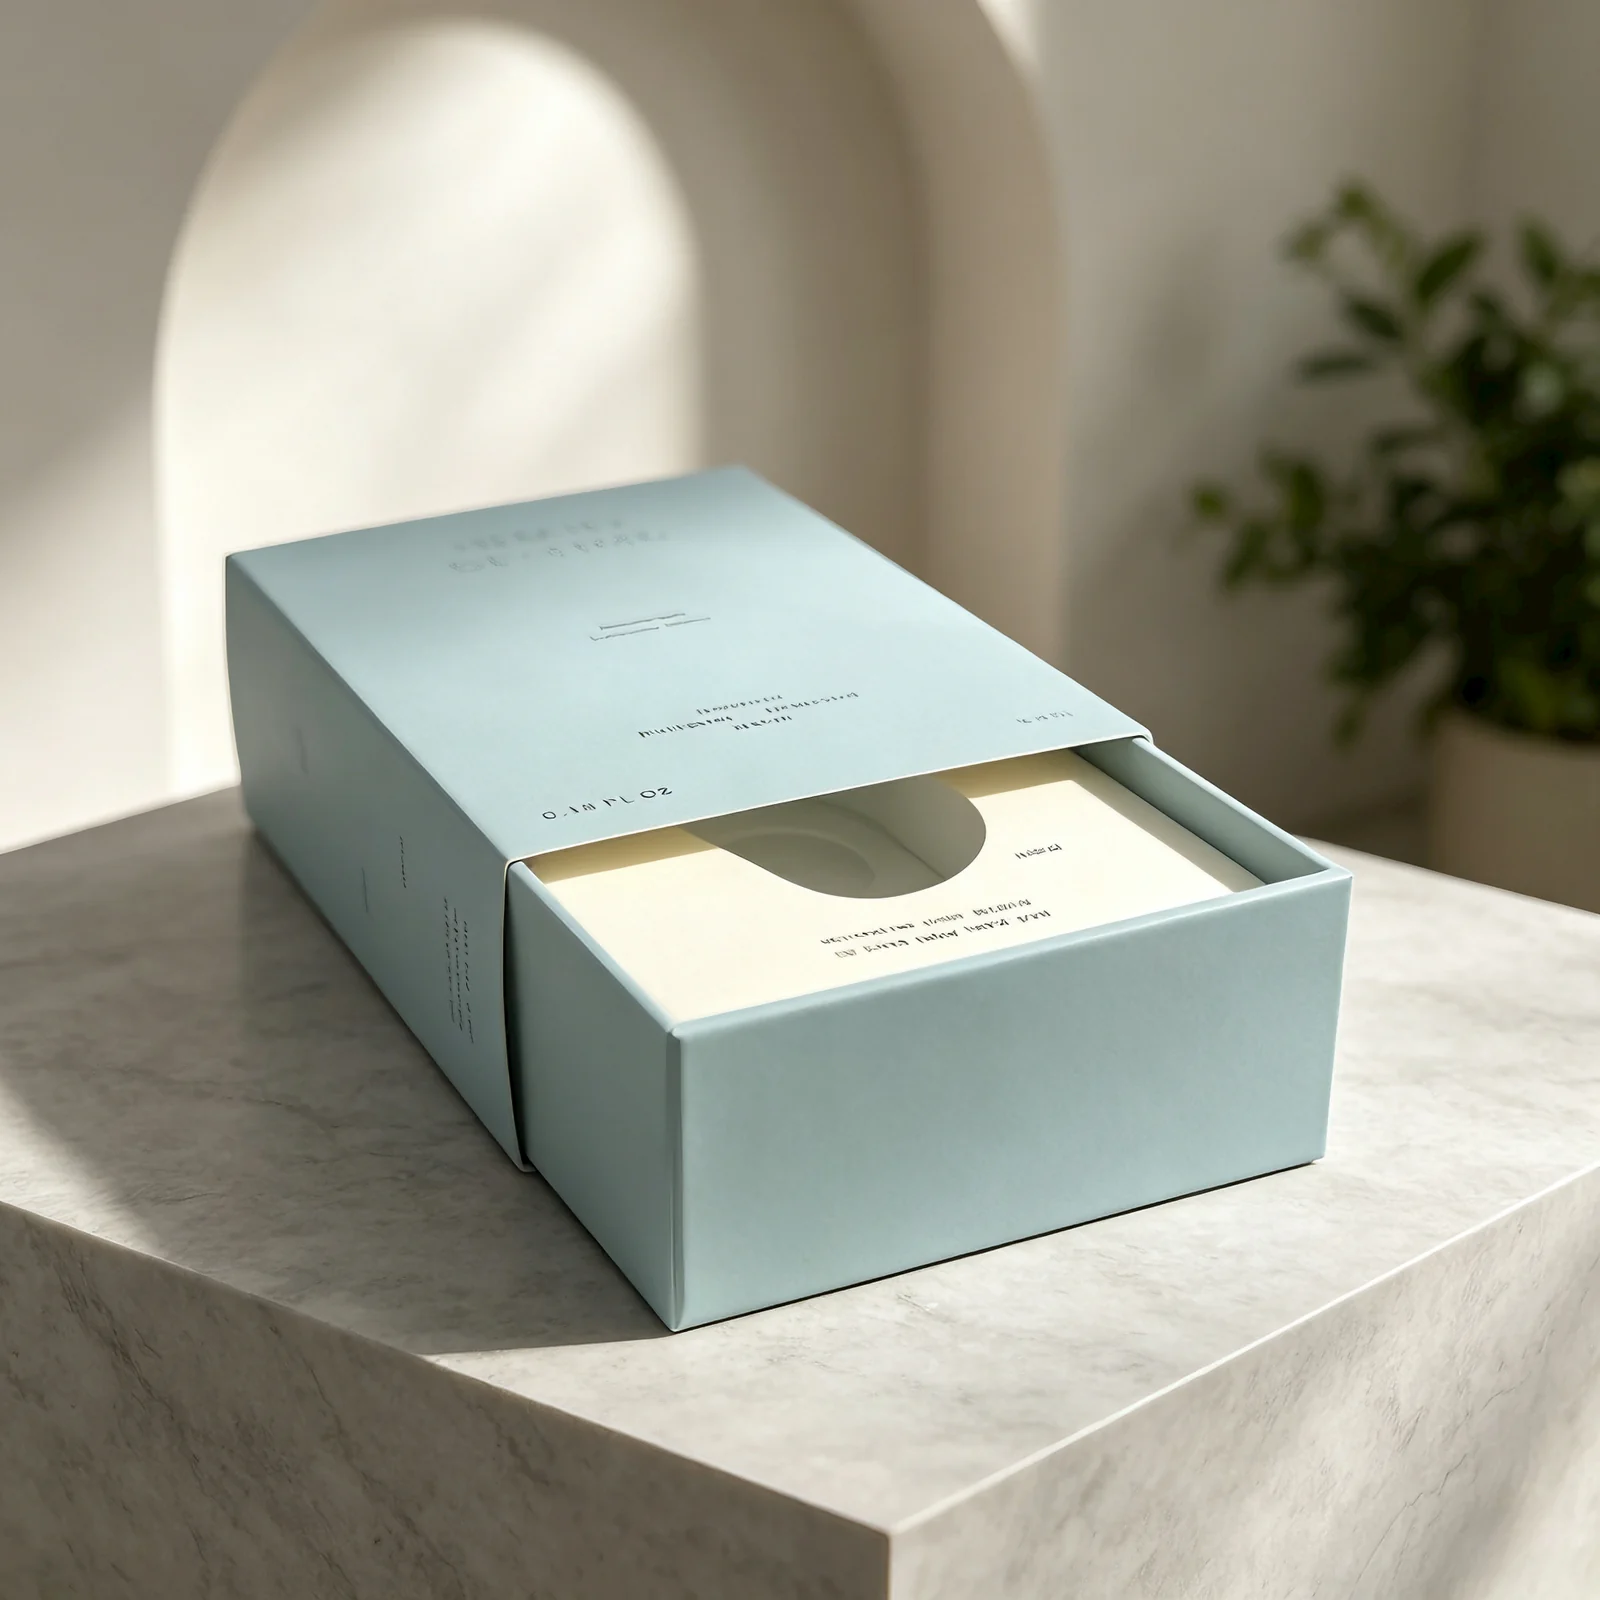
Sleeve-and-Tray Construction and Opening
Choose whether the sleeve is decorative, retaining or both. A light folding sleeve over a rigid tray differs from two rigid components in cost, wall thickness and sliding feel. Continuous artwork needs registration at the closed position, while a thumb notch changes the available front panel. For vertical retail display, add an explicit retention decision so the tray does not slide out when the pack is handled.
Open the filled sample from the normal grip and check skewing, friction and over-travel. Inspect dark printed edges for rub and check that removal does not pull the insert out with the product. Keep the slide test and material revision together.
Sleeves print as continuous wraps, while seam position, paper grain and finish are planned with the artwork. Trays run rigid (wrapped greyboard) for premium weight or cardstock for volume. Open-both-ends or closed-back builds set how the slide behaves.
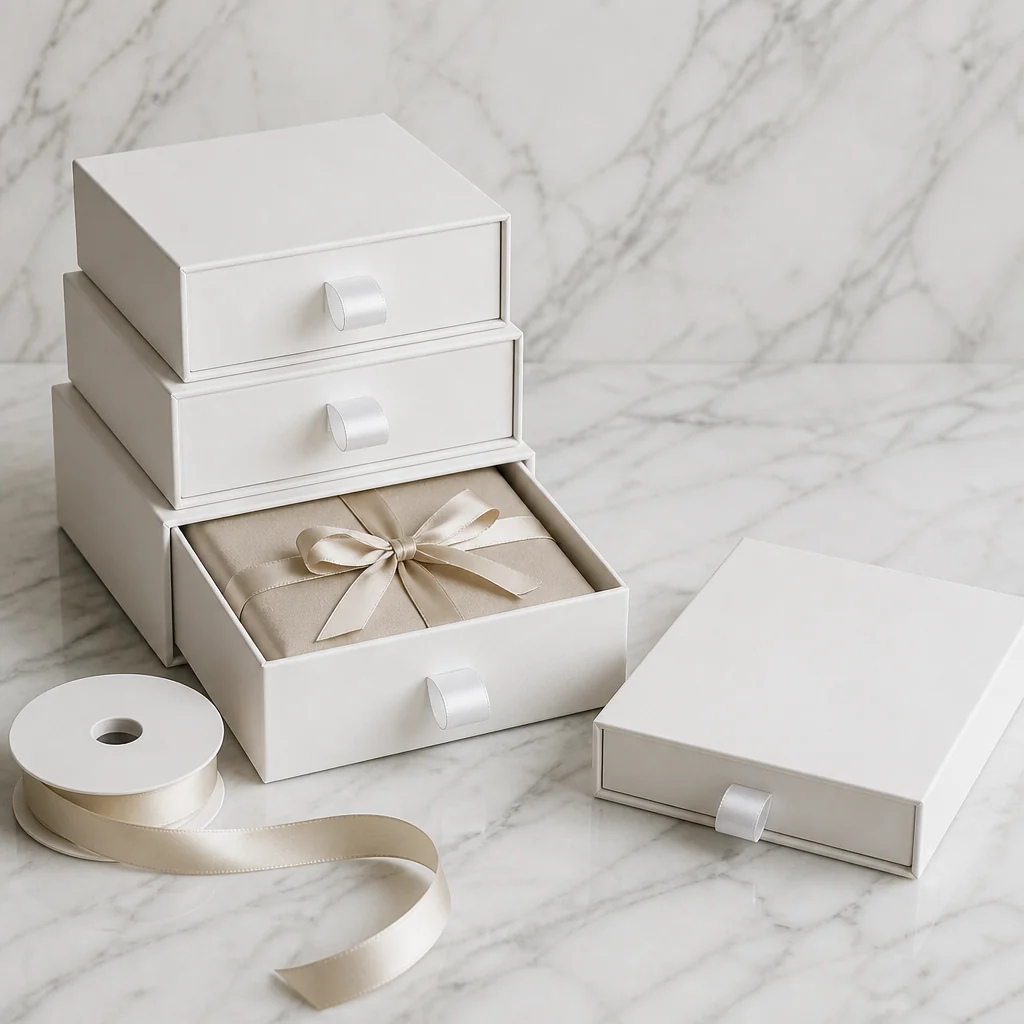
It's the pocket sibling of our full drawer box. For multi-piece sets, specify the tray divisions and confirm every product stays below the sleeve path.
Technical Specs
Specifications & Parameters
Configure your sleeve & tray box:
| Parameter | Options & Guidance |
|---|---|
| Structure | Outer sleeve + slide tray; open-ended or closed-back |
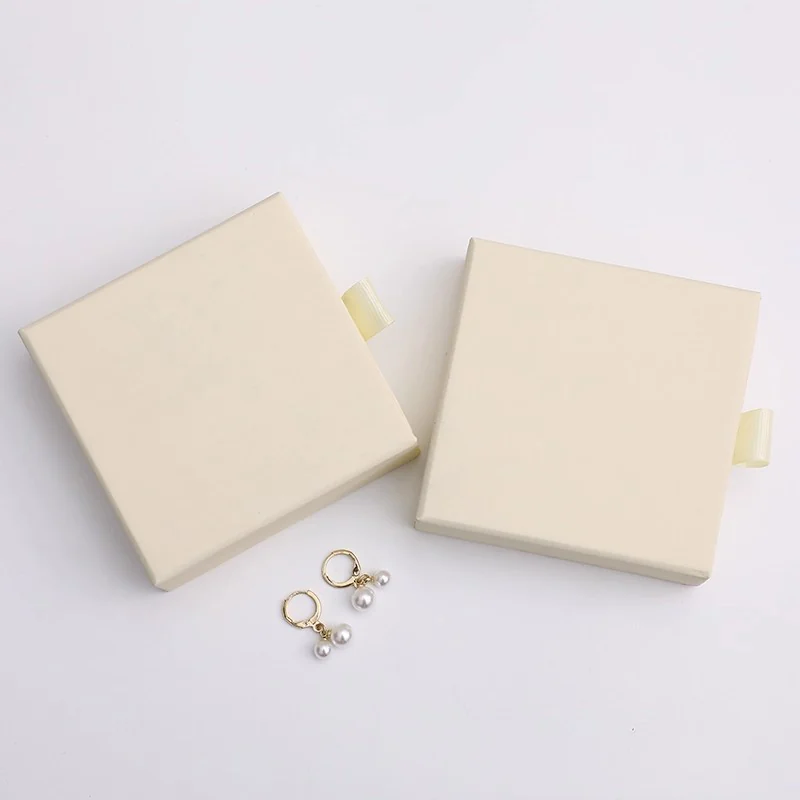
| Opening | Thumb notch, finger hole, or ribbon tab |
| Sleeve Print | Continuous wrap — pattern flows across all faces |
| Tray | Rigid wrapped greyboard or 400gsm cardstock |
| Dividers | Defined wells for sets and mixed items; cutting and assembly route confirmed in the quote |
| Finish | Matte, soft-touch, spot UV pattern, foil |
| Common Sizes | Mini 90×60×25mm · Classic 160×90×35mm · custom |
| Minimum Order | 500 pcs per design and size; final specification recorded in the quotation |
| Sample Lead Time | 3–5 days after specification confirmation; shipping time additional |
Bespoke Options
Slide Options
Small-format details that register:
Thumb-Notch Geometry
Notch radius and tray retention compared with the finished product load.
Continuous Pattern Wrap
Graphics are planned around the sleeve with the production seam identified before approval.
Set Dividers
Tray wells for pens, minis, chocolates or sample vials.
Rigid vs Cardstock Tray
Premium weight or volume economy — quoted side by side.
Buyer Answer
What Makes a Sleeve Box Slide Smoothly?
Short answer: Smooth travel comes from the finished sleeve and tray as a matched pair, not one universal clearance number. Wrapped-board thickness, paper grain, lamination, foil, glue build, humidity, tray load and opening direction all change friction. Approve repeated opening with the production finish and packed product, then lock the accepted sample as the manufacturing reference.
Fit and Friction
Specify the Slide Test Before the Gap
A CAD gap describes nominal geometry; it does not describe how a wrapped tray feels after print, lamination, folding and glue. The outer sleeve can tighten where seams overlap, while a loaded tray can bow or rack and contact a different face. Humidity also changes paper-based components, so a sample approved immediately after production may feel different after storage.
Define the user action instead: which end opens, whether the tray must stop, whether one hand should start the movement, and how many opening cycles the sample must complete without scuffing or jamming. Approve appearance and function together. A very loose tray may open easily but expose uneven reveals; a very tight tray may feel premium once yet frustrate repeated use.
- Test the finished wrap, coating, foil and glue pattern.
- Load the exact product and insert during the slide check.
- Record the accepted opening direction and stop feature.
- Retain one signed sample for production comparison.
Opening Decision
Choose the Slide Architecture Before Artwork
| Format | User experience | Sampling focus |
|---|---|---|
| Open both ends | Playful two-direction reveal and simple sleeve | Tray retention, accidental push-through and graphic orientation |
| Closed-back sleeve | Controlled one-direction opening with a positive stop | Stop strength, glue build, tray alignment and repeated impact |
| Ribbon-pull tray | Clear opening cue when no thumb notch is wanted | Ribbon anchor, pull angle, fraying and interference with the insert |
RFQ Checklist
Inputs for a Sleeve-and-Tray Sample
- Product and insert dimensions, packed weight and loading orientation.
- Rigid or folding tray, open ends or closed back, thumb notch or ribbon pull.
- Wrap paper, grain direction, lamination, foil and seam position.
- Target opening action, retention requirement and repeat-cycle acceptance.
- Order quantity, destination climate, artwork and signed-sample process.
Worked fit-approval example
A tray that slides correctly as bare greyboard may tighten after wrapping and loading. Approve the production sequence: finished sleeve, finished tray, insert and product together. Define how the user starts the opening, whether the tray must remain captured, how much visual reveal is acceptable around the tray, and the number of repeated cycles used for comparison. Check for scuffing on dark papers and foil as well as for sticking or accidental release. Record the paper, grain, lamination, seam and glue positions with the signed sample. If the wrap, finish, insert or packed weight changes, run the same comparison again. This makes “smooth premium slide” an observable acceptance test instead of a subjective adjective or a fixed gap copied from another structure.
Production inspection should compare several positions from the run, not only the first approved unit. Check that the tray remains square, the sleeve seam does not create a local pinch point, the stop or ribbon anchor holds, and printed surfaces do not mark after cycling. Store the accepted sample flat and identify its material batch so later comparisons use the same conditions.
For sets, verify that the insert keeps every component below the sleeve path; a raised accessory or displaced insert can create a jam even when the empty tray passes perfectly.
Procurement & Budgeting
Quantity Tier & Pricing Benchmarks
Indicative ex-works tiers for a 160×90×35mm rigid-tray matchbox with printed sleeve:
| Quantity Tier | Indicative Price (USD / EXW) | Recommended Use Case |
|---|---|---|
| 500 Pcs | $1.10 – $1.60 | DTC gifting lines |
| 1,000 Pcs | $0.85 – $1.20 | Retail wholesale |
| 3,000 Pcs | $0.62 – $0.90 | Chain programs |
| 5,000+ Pcs | $0.48 – $0.72 | Promotional volume |
Earlier reference scenarios below the current 500-piece minimum (not available for ordering)
These original quantity and price references are retained for comparison. They are not current order options or quotations. Do not apply a lower-volume price to a different quantity.
| Quantity Tier | Indicative Price (USD / EXW) | Recommended Use Case |
|---|---|---|
| 200 Pcs | $1.60 – $2.40 | Boutique stationery & mini-set launches |
*Prices are ex-works (EXW) and vary with paper grade, dimensions, ink coverage, and finishing. Confirm tooling ownership, storage, reuse charges and any setup waiver in the written quotation; repeat orders still follow the current production minimum.
Target Industries
Slide-Format Categories
Where the matchbox gesture sells:
Stationery & Pens
Single-pen and desk-set trays with divider wells.
Cosmetic Minis
Lip and sample sets sliding open like a compact.
Chocolates & Confections
Praline trays in continuous-pattern sleeves.
Tech Small Goods
Cables, pins and EDC items in closed-back builds.
Questions
Frequently Asked Questions
Is there one standard clearance for every sleeve box?
No. Board, wrap, grain, finish, glue, humidity, load and opening direction change friction, so fit is approved on the finished packed sample.
What is the difference between open-ended and closed-back sleeves?
Open-ended sleeves allow a two-direction reveal; closed-back sleeves control the direction and add a stop that must be checked for alignment and strength.
Should I use a thumb notch or ribbon pull?
Use a thumb notch for direct tray access or a ribbon pull when the opening cue and clean sleeve edge matter; approve grip, anchor and insert clearance.
How is sliding fit approved?
Cycle the finished sleeve, tray, insert and product together, checking start force, retention, scuffing, jamming and visible reveal against the signed sample.
What inputs are needed for a sleeve-box quote?
Send product and insert dimensions, packed weight, tray type, opening and stop, wrap and finish, fit criteria, quantity, climate, artwork and approval process.
Instant Inquiry
Request a Factory-Direct Quote
Send the retail orientation, product mass and preferred grip. Ask for the accepted opening behaviour, closed-artwork alignment and tray retention method to be part of sample approval.
Email info@luxopacks.com or message us on WhatsApp with your packaging brief.
Continue Your Sourcing Research
Related Products & Buyer Guides
Related Products
- Custom Sliding Drawer Packaging Box
- Custom Folding Carton Boxes
- Custom Magnetic Rigid Gift Box Manufacturer
- Custom Cylinder Tube Box