
Design
These technical processes transform a standard paper box into a sensory experience. Here is the LuxoPacks guide to the most requested finishes for 2026.
1. Hot Foil Stamping
Foil stamping transfers a selected foil to the surface using heat and pressure. Approve line detail, coverage and position on the actual wrap before ordering the run. A metallic color name does not show how that foil will read across a texture or beneath normal handling light.
2. Spot UV & 3D UV
Spot UV creates contrast in selected printed areas; a raised treatment also changes the feel of the surface. Decide where that contrast is useful and review the boundaries, small details and handling of the finished sample. An effect that distracts from required text or fingerprints easily may be the wrong choice.
3. Soft-Touch Lamination
Often called "velvet lamination," this finish gives the box a peach-skin feel that is incredibly premium. It is also anti-scratch, which is essential for dark-colored boxes that would otherwise show fingerprints and scuffs during shipping.
4. Embossing & Debossing
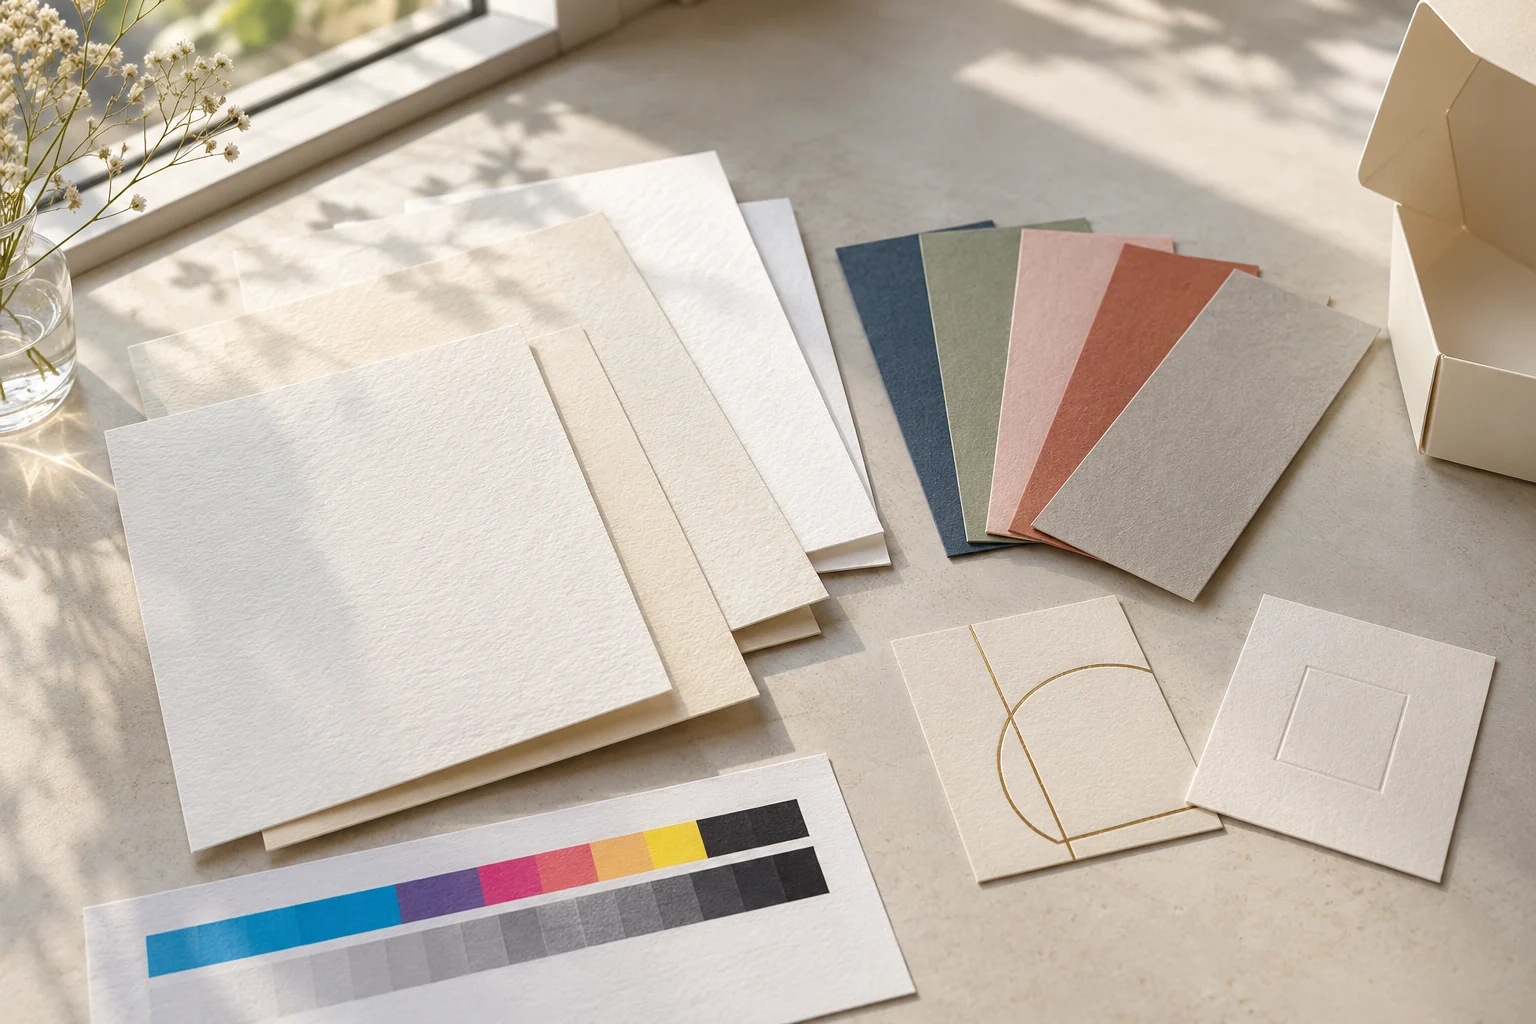
These techniques create a physical 3D effect in the paper itself. Embossing raises the image, while debossing sinks it. When combined with foil stamping, it creates a "multi-level" effect that is the hallmark of high-end watch and jewelry packaging.
5. Combining Finishes Without Overloading the Box
The most common design mistake is stacking too many finishes on one surface. Foil stamping over a large embossed area can crack the foil along the raised edges; soft-touch lamination under heavy spot UV shows fingerprints faster than either finish alone. As a rule, pick one "hero" finish for the logo — foil or 3D UV — and one "base" finish for the whole surface — soft-touch or matte — and keep debossing for secondary text like a batch code or care instruction rather than the main brand mark. Ask for a physical finish sample, not just a digital mockup, before locking artwork: foil color and UV gloss both read differently on-screen than under retail lighting. If your line has several SKUs, standardizing the hero finish across the range — rather than letting each product pick its own — also keeps unit setup costs and turnaround more predictable on reorders.
Design Your Custom Box
Not sure which finish works for your logo? Send us your AI file and we'll create a 3D preview with different finishes.
Get Free 3D Preview → WhatsApp Sales
Related from the factory
- unboxing experience: 8 packaging tips for brands — What makes a box photograph and reshare well.
Next Step
- browse box styles
- get a free 3D mockup
Put this guide into practice
Compare a base sample with the proposed finish on the same material. Release the finish layer, reference sample and acceptance points together instead of approving an effect from an unrelated box.